Infiltration issue 2: Difference between revisions
→Covers (12): removed collection covers per standard |
No edit summary |
||
| Line 14: | Line 14: | ||
|edits by=[[Chris Ryall]] & [[Dan Taylor (IDW)|Dan Taylor]] | |edits by=[[Chris Ryall]] & [[Dan Taylor (IDW)|Dan Taylor]] | ||
|continuity=[[IDW Generation 1 continuity|IDW continuity]] | |continuity=[[IDW Generation 1 continuity|IDW continuity]] | ||
|chronology=[[IDW timeline| | |chronology=[[IDW timeline#2006-7|2006-7]] | ||
}} | }} | ||
'''Ratchet reaches safety with the Autobots, or does he?''' | '''Ratchet reaches safety with the Autobots, or does he?''' | ||
== Synopsis == | ==Synopsis== | ||
Confronted by [[Battlecharger|two menacing robots]] demanding that she turn over her stolen [[SM-40|palmtop computer]], [[Verity Carlo]] and her companions [[Hunter O'Nion]], and [[Jimmy Pink]] can only stand and gawk in horror at the spectacle. Their mysterious ambulance driver companion has other ideas, however: using [[holomatter|a holographic decoy]] of the computer, he feigns surrender... and then disappears in a blaze of electricity when the two robots reach for the prize. The trick stuns [[Runabout (G1)|one of the robots]], who topples into the garage wall, sending collapsing rubble everywhere. Just in time, their ambulance transforms into [[Ratchet (G1)/IDW Generation 1 continuity|a third giant robot]], who uses his massive body to shield the humans from the debris! | |||
Confronted by [[Battlecharger|two menacing robots]], | |||
As [[Runamuck (G1)|the white robot]] draws a weapon, their robotic rescuer deploys an ink spray to blind his attacker; with his opponents on the backfoot, the ambulance decides to get out while the going's good and, ordering his passengers to get inside, reassumes his [[alternate mode]] to ferry the three [[human]]s to safety. As the ambulance peels out, heading for the interstate, Jimmy can't help but lament the destruction of his garage. | |||
In [[Arizona]], a police detachment finds the dead body of the [[Stoker|businessman]] who had previously possessed the computer. The corpse has no ID of any kind, confusing the officers. One member of the forensics team, however, surreptitiously places a call to a faraway boardroom to report the death — | |||
a boardroom adorned with [[Machination|a massive letter "M"]]. | |||
The ambulance hightails it along the freeway, weaving in and out of the traffic as the three humans struggle to get to grips with the situation as the ambulance fills them in. His team had been tracking a coded [[Decepticon]] pulsewave, noting that a specific human, the former carrier of the palmtop, had been targeted by the Decepticons for elimination. But before their rescuer can tell them ''why'' he'd been selected, a massive sonic boom alerts them to the return of [[Thundercracker (G1)/IDW Generation 1 continuity|the blue jet fighter]]. The sonic boom causes a massive pileup, forcing the ambulance to swerve around one car after the next, and the chaos creates the perfect opening for the two sports cars, who identify themselves as [[Runamuck (G1)|Runamuck]] and [[Runabout (G1)|Runabout]], to catch up and deploy an arsenal of hidden weapons as they try to run the ambulance off the road. This is a bad sign, the humans learn: Decepticons ''never'' break cover, and this brazen aggression means that Verity's picked up something that they ''really'' need.... | |||
In [[Oregon]], [[Starscream (G1)/IDW Generation 1 continuity|Starscream]] and [[Blitzwing (G1)|Blitzwing]] marvel at the [[Ore-13|ore]] that they have discovered. Starscream is eager to refine more — even if means breaking [[Infiltration protocol|protocol]], the Decepticon leader is confident that he'll have enough time to prepare a response. | |||
Pursued by the two Deceptions, the ambulance manages to shake its pursuers by swerving hard into an oncoming tanker-trailer. While the medical vehicle manages to get out of the way in time, the two Battlechargers aren't so lucky and don't get out of the way in time, and the ensuing collision send both Decepticons flying off the highway to crash in a fiery conflagration. It's all too much for Verity, and as the ambulance rounds a cliff she screams for it to stop so that she can get some air. Jimmy follows to try and calm her down, while Hunter tries to pry more details out of their rescuer, who finally introduces himself at "[[Ratchet (G1)/IDW Generation 1 continuity|Ratchet]]. Before he can get any more information out of Ratchet, the jet comes back for another pass and fires a homing missile at the group. | |||
As everyone scrambles aboard, Ratchet deliberately waits until the last second to escape, pouring on a burst of speed to outrun the explosion as the homing missile impacts against the cliff. As they zoom through the desert with the jet on their tail, unexpected help arrives in the shape of three more automobiles - a [[Sunstreaker (G1)/IDW Generation 1 continuity|yellow sports car]], a [[Ironhide (G1)/IDW Generation 1 continuity|red minivan]], and a [[Prowl (G1)/IDW Generation 1 continuity|police car]] - who deploy some concealed weapons of their own to blast the airborne Decepticon until he retreats. | |||
[[File:Siege mode bunker.jpg|left|upright=1.1|thumb|It is an avatar of apocalyptic prose, the herald... of overwrought narration!]] | |||
Ratchet reveals to the grateful humans that they're his allies, who he'd covertly summoned while he was receiving maintenance in Jimmy's garage... but their jubilation is short lived when the three cars transform into more robots and draw their weapons. Their leader [[Prowl (G1)/IDW Generation 1 continuity|Prowl]] lays into Ratchet for dereliction of duty and violating he statutes of the [[Code of Interplanetary Conflict]]. Having glimpsed the photos on Verity's computer, Ratchet has finally realized why the Decepticons were so intent on recovering the device, and so he offers two words in his defense: "[[Infiltration protocol|siege mode]]"... | |||
==Featured characters== | ==Featured characters== | ||
| Line 59: | Line 64: | ||
===Transformers references=== | ===Transformers references=== | ||
* On page 12, Ratchet gets himself between two oncoming semi trucks | * On page 12, Ratchet gets himself between two oncoming semi trucks — a black one with a gray trailer, and a red one pulling a gray tanker trailer. It's not too much of a stretch to think someone was recalling Motormaster vs. Optimus Prime. | ||
===Real-life references=== | ===Real-life references=== | ||
Revision as of 21:01, 12 February 2018
| |||||||||||||
 Don't look up! | |||||||||||||
| Publisher | IDW Publishing | ||||||||||||
| First published | February 8, 2006 | ||||||||||||
| Cover date | February 2006 | ||||||||||||
| Written by | Simon Furman | ||||||||||||
| Art by | E. J. Su | ||||||||||||
| Colors by | John Rauch | ||||||||||||
| Letters by | Tom B. Long | ||||||||||||
| Edits by | Chris Ryall & Dan Taylor | ||||||||||||
| Continuity | IDW continuity | ||||||||||||
| Chronology | 2006-7 | ||||||||||||
Ratchet reaches safety with the Autobots, or does he?
Synopsis
Confronted by two menacing robots demanding that she turn over her stolen palmtop computer, Verity Carlo and her companions Hunter O'Nion, and Jimmy Pink can only stand and gawk in horror at the spectacle. Their mysterious ambulance driver companion has other ideas, however: using a holographic decoy of the computer, he feigns surrender... and then disappears in a blaze of electricity when the two robots reach for the prize. The trick stuns one of the robots, who topples into the garage wall, sending collapsing rubble everywhere. Just in time, their ambulance transforms into a third giant robot, who uses his massive body to shield the humans from the debris!
As the white robot draws a weapon, their robotic rescuer deploys an ink spray to blind his attacker; with his opponents on the backfoot, the ambulance decides to get out while the going's good and, ordering his passengers to get inside, reassumes his alternate mode to ferry the three humans to safety. As the ambulance peels out, heading for the interstate, Jimmy can't help but lament the destruction of his garage. In Arizona, a police detachment finds the dead body of the businessman who had previously possessed the computer. The corpse has no ID of any kind, confusing the officers. One member of the forensics team, however, surreptitiously places a call to a faraway boardroom to report the death — a boardroom adorned with a massive letter "M".
The ambulance hightails it along the freeway, weaving in and out of the traffic as the three humans struggle to get to grips with the situation as the ambulance fills them in. His team had been tracking a coded Decepticon pulsewave, noting that a specific human, the former carrier of the palmtop, had been targeted by the Decepticons for elimination. But before their rescuer can tell them why he'd been selected, a massive sonic boom alerts them to the return of the blue jet fighter. The sonic boom causes a massive pileup, forcing the ambulance to swerve around one car after the next, and the chaos creates the perfect opening for the two sports cars, who identify themselves as Runamuck and Runabout, to catch up and deploy an arsenal of hidden weapons as they try to run the ambulance off the road. This is a bad sign, the humans learn: Decepticons never break cover, and this brazen aggression means that Verity's picked up something that they really need....
In Oregon, Starscream and Blitzwing marvel at the ore that they have discovered. Starscream is eager to refine more — even if means breaking protocol, the Decepticon leader is confident that he'll have enough time to prepare a response.
Pursued by the two Deceptions, the ambulance manages to shake its pursuers by swerving hard into an oncoming tanker-trailer. While the medical vehicle manages to get out of the way in time, the two Battlechargers aren't so lucky and don't get out of the way in time, and the ensuing collision send both Decepticons flying off the highway to crash in a fiery conflagration. It's all too much for Verity, and as the ambulance rounds a cliff she screams for it to stop so that she can get some air. Jimmy follows to try and calm her down, while Hunter tries to pry more details out of their rescuer, who finally introduces himself at "Ratchet. Before he can get any more information out of Ratchet, the jet comes back for another pass and fires a homing missile at the group.
As everyone scrambles aboard, Ratchet deliberately waits until the last second to escape, pouring on a burst of speed to outrun the explosion as the homing missile impacts against the cliff. As they zoom through the desert with the jet on their tail, unexpected help arrives in the shape of three more automobiles - a yellow sports car, a red minivan, and a police car - who deploy some concealed weapons of their own to blast the airborne Decepticon until he retreats.

Ratchet reveals to the grateful humans that they're his allies, who he'd covertly summoned while he was receiving maintenance in Jimmy's garage... but their jubilation is short lived when the three cars transform into more robots and draw their weapons. Their leader Prowl lays into Ratchet for dereliction of duty and violating he statutes of the Code of Interplanetary Conflict. Having glimpsed the photos on Verity's computer, Ratchet has finally realized why the Decepticons were so intent on recovering the device, and so he offers two words in his defense: "siege mode"...
Featured characters
(Numbers indicate order of appearance.)
| Autobots | Decepticons | Humans |
|---|---|---|
|
|
|
Notes
Continuity notes
- As with last issue, we see that all Transformers feature heavy (retractable) armament in vehicle mode. Runabout, Runamuck, and Sunstreaker have missiles, Ironhide has a roof mounted cannon, and Prowl has machine-guns behind his headlamps. Also, in addition to the weapons shown last issue, Ratchet has a turbo-booster. They are all hardcore.
- First appearances: a shadowed-out Blitzwing; Ironhide and Sunstreaker; the unnamed goons of the Machination.
Transformers references
- On page 12, Ratchet gets himself between two oncoming semi trucks — a black one with a gray trailer, and a red one pulling a gray tanker trailer. It's not too much of a stretch to think someone was recalling Motormaster vs. Optimus Prime.
Real-life references
- Settings include Riverside, California, and an interlude in Arizona.
Errors
- Ratchet's windshield remains intact throughout this issue, yet when he activates his rockets, his passengers appear to experience severe air rush in addition to the acceleration (as evidenced by blowing hair, squinted eyes, and Hunter and Jimmy's mouths).
Other trivia
- The "Decepticomments" section featured mail answered by Chris Ryall and short ads for next month's issues: Infiltration #3, The Gathering #2, Generations #1, and the War and Peace reprint.
Covers (7)
-
 Infiltration #2 cover A - Everyone do "The Jerk"!
 -
 Infiltration #2 cover B - Can I have a ride?
 -
 Infiltration #2 cover C - Prowl, being his usual self.
 -
 Infiltration #2 cover D - This will teach those meddling kids!


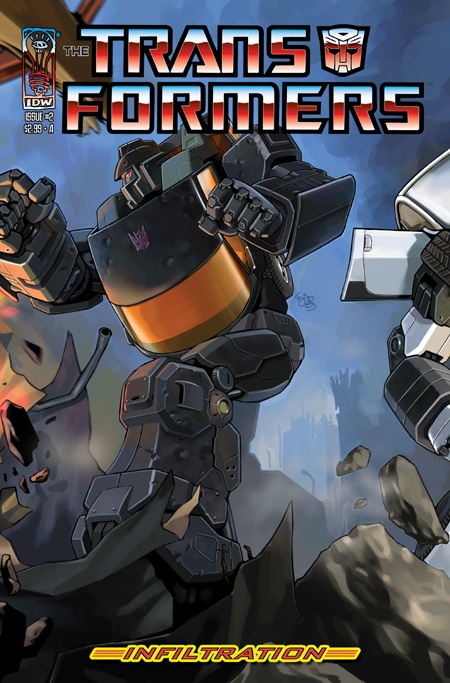
- Infiltration #2 cover A: the Battlechargers, by E. J. Su. Half of the RI-B cover.
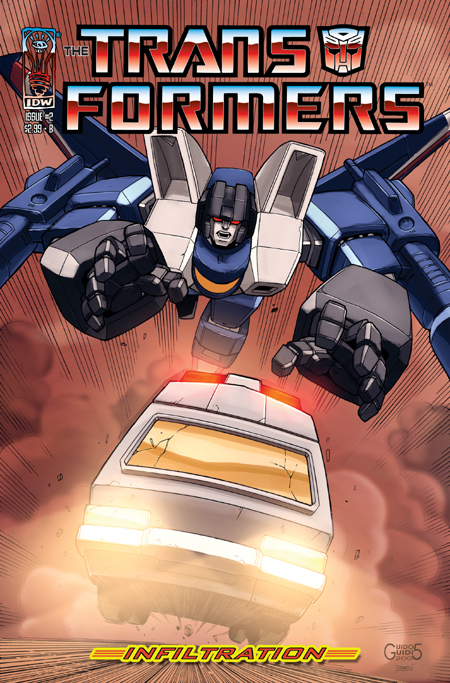
- Infiltration #2 cover B: Thundercracker attacks Ratchet, by Guido Guidi.
- Infiltration #2 cover C: Prowl threatens Ratchet, by Andrew Wildman.
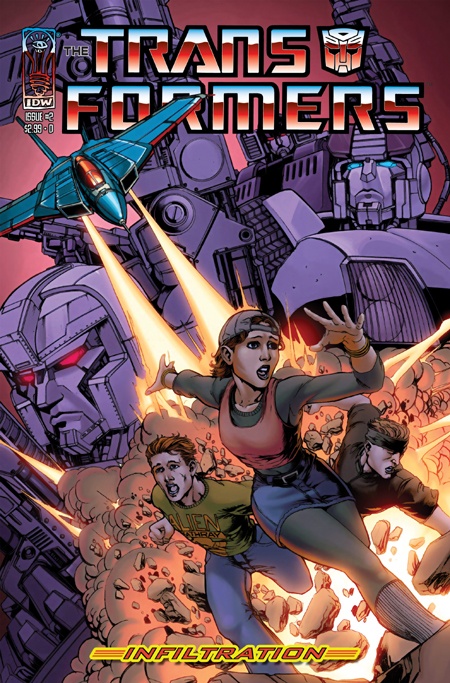
- Infiltration #2 cover D: Thundercracker attacks humans, by James Raiz.
-
 Infiltration #2 cover RI-A - Half a conehead.
 -
 Infiltration #2 cover RI-B - Do "The Jerk" and kill the doc!
 -
 Infiltration #2 cover RI-C - If the G1 toy merged with the character model.


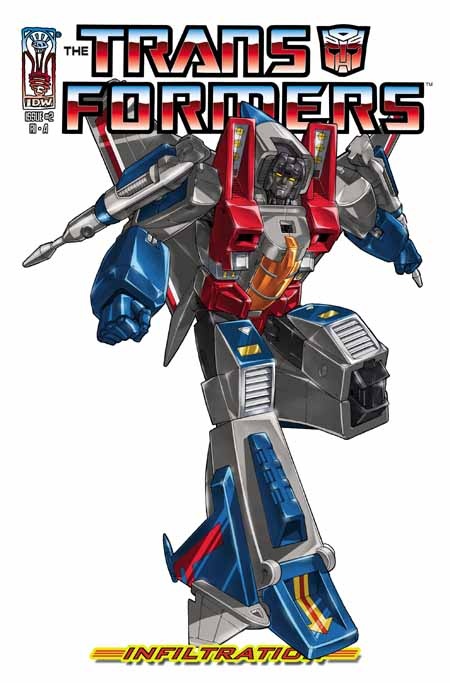
- Infiltration #2 cover RI-A: Starscream, by Guido Guidi.
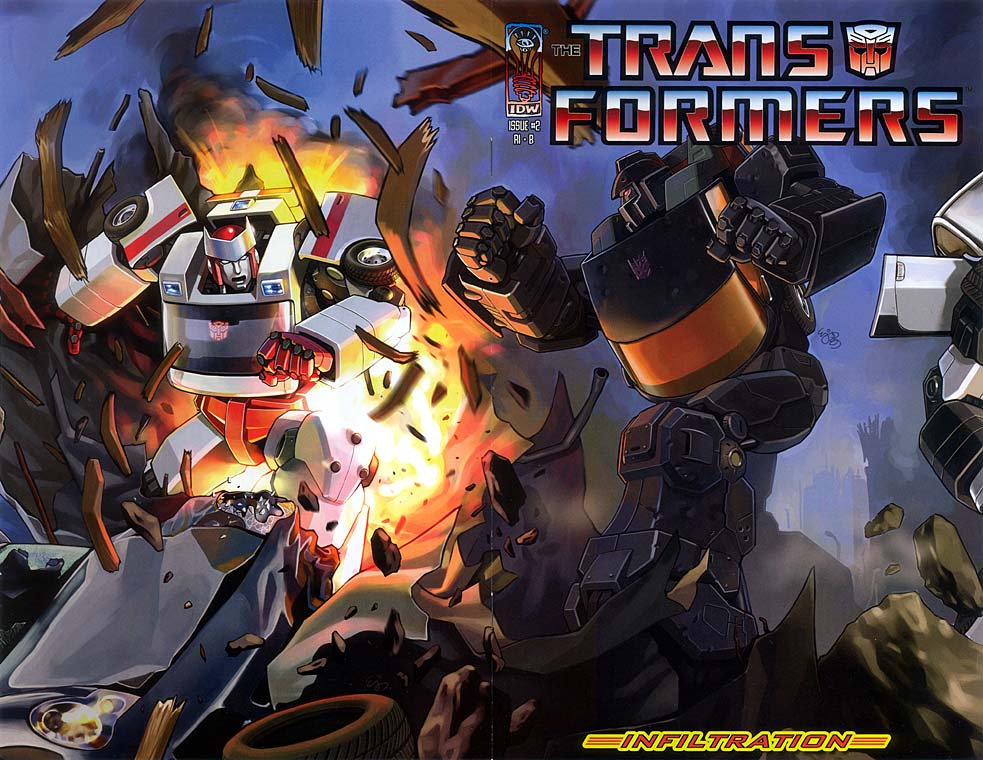
- Infiltration #2 cover RI-B: Battle wraparound cover, by E. J. Su. First part of a continuous image.
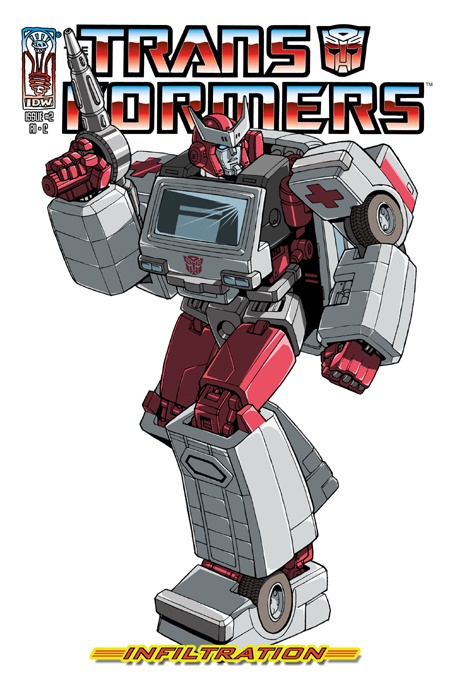
- Infiltration #2 cover RI-C: Ratchet, by Guido Guidi (includes 4 mini-prints).
Advertisements
- 10th Anniversary Beast Wars toys
- Infiltration #3, including a 2-page B&W sketch preview
- 3-page preview of The Gathering
- Angel: "City Of" scriptbook
- The Gathering (back cover)
Reprints
- The Transformers: Infiltration TPB (September 13, 2006) ISBN 1600100104 / ISBN 978-1600100109
- The Transformers: Infiltration Manga TPB (November 29, 2006) ISBN 1600100198 / ISBN 978-1600100192
- The Transformers: The Premiere Collection Volume 1 HC (December 5, 2007) ISBN 1600101186 / ISBN 978-1600101182
- The Transformers: The IDW Collection Volume One HC (May 26, 2010) ISBN 1600106676 / ISBN 978-1600106675
- The Transformers: Phase One Omnibus TPB (September 10, 2014) ISBN 1631401130 / ISBN 978-1631401138


