Infiltration issue 3: Difference between revisions
JDspeeder1 (talk | contribs) |
JDspeeder1 (talk | contribs) |
||
| Line 22: | Line 22: | ||
Trapped in a containment cell, [[Verity Carlo]] offers an ultimatum to her [[Autobot]] captors: if they don't let her and her friends out, she wipes the [[SM-40]] that's prompted such interest from both sides. [[Sunstreaker (G1)/2005 IDW continuity|Sunstreaker]] is unmoved, and flicks the security camera to "mute" as [[Prowl (G1)/2005 IDW continuity|Prowl]] gives [[Ratchet (G1)/2005 IDW continuity|Ratchet]] a thorough dressing-down for disobeying his orders and breaking cover. The Autobot medic tells ''his'' side of the story: having arrived too late to prevent the Decepticon assassination of their [[Stoker|target of interest]], Ratchet wound up clashing with [[Runamuck (G1)|Runamuck]] and eventually ran across Verity Carlo and [[Hunter O'Nion]]. Ratchet concludes his case by arguing that the Autobots are on [[Earth]] to ''save'' lives from wanton Decepticon action, and that's exactly what he tried to do. | Trapped in a containment cell, [[Verity Carlo]] offers an ultimatum to her [[Autobot]] captors: if they don't let her and her friends out, she wipes the [[SM-40]] that's prompted such interest from both sides. [[Sunstreaker (G1)/2005 IDW continuity|Sunstreaker]] is unmoved, and flicks the security camera to "mute" as [[Prowl (G1)/2005 IDW continuity|Prowl]] gives [[Ratchet (G1)/2005 IDW continuity|Ratchet]] a thorough dressing-down for disobeying his orders and breaking cover. The Autobot medic tells ''his'' side of the story: having arrived too late to prevent the Decepticon assassination of their [[Stoker|target of interest]], Ratchet wound up clashing with [[Runamuck (G1)|Runamuck]] and eventually ran across Verity Carlo and [[Hunter O'Nion]]. Ratchet concludes his case by arguing that the Autobots are on [[Earth]] to ''save'' lives from wanton Decepticon action, and that's exactly what he tried to do. | ||
Prowl is unmoved: not only did the medic fail to rescue his primary target, he points out, but his attempt to play hero has drawn three more innocent lives into the crossfire. Prowl orders Ratchet to find out what's on Verity's computer and then get rid of the [[human]]s, and although Ratchet suggests alerting [[Optimus Prime (G1)/2005 IDW continuity|Optimus Prime]] to the unusual Decepticon activity Prowl just ignores him. In desperation, Ratchet points out to Ironhide that the local Decepticon cell might have potentially gone rogue... and even if they're acting under orders, their erratic behavior means only one thing: it's a matter of time before [[Megatron (G1)/2005 IDW continuity|Megatron]] arrives. | Prowl is unmoved: not only did the medic fail to rescue his primary target, he points out, but his attempt to play hero has drawn three more innocent lives into the crossfire. Prowl orders Ratchet to find out what's on Verity's computer and then get rid of the [[human]]s, and although Ratchet suggests alerting [[Optimus Prime (G1)/2005 IDW continuity|Optimus Prime]] to the unusual Decepticon activity Prowl just ignores |him. In desperation, Ratchet points out to [[Ironhide (G1)/2005 IDW continuity|Ironhide]] that the local Decepticon cell might have potentially gone rogue... and even if they're acting under orders, their erratic behavior means only one thing: it's a matter of time before [[Megatron (G1)/2005 IDW continuity|Megatron]] arrives. | ||
In [[Tucson]], [[Arizona]], a police officer is investigating the dead body of the businessman, and tracks his last known whereabouts to a nearby trailer park. No sooner has he arrived than a pair of warplanes—[[Skywarp (G1)/2005 IDW continuity|one black]], [[Blitzwing (G1)|one purple]]—appear out of thin air, annihilating the dead man's trailer | In [[Tucson]], [[Arizona]], a police officer is investigating the dead body of the businessman, and tracks his last known whereabouts to a nearby trailer park. No sooner has he arrived than a pair of warplanes—[[Skywarp (G1)/2005 IDW continuity|one black]], [[Blitzwing (G1)|one purple]]—appear out of thin air, annihilating the dead man's trailer before promptly disappearing again. | ||
[[File:Infiltration3 skywarp and blitzwing.jpg|thumb|left|250px]] | [[File:Infiltration3 skywarp and blitzwing.jpg|thumb|left|250px]] | ||
Revision as of 16:37, 2 March 2022
| |||||||||||||
 Eat foot, dig? | |||||||||||||
| Publisher | IDW Publishing | ||||||||||||
| First published | March 8, 2006 | ||||||||||||
| Cover date | March 2006 | ||||||||||||
| Written by | Simon Furman | ||||||||||||
| Art by | E. J. Su | ||||||||||||
| Colors by | John Rauch | ||||||||||||
| Letters by | Tom B. Long | ||||||||||||
| Edits by | Chris Ryall & Dan Taylor | ||||||||||||
| Continuity | 2005 IDW continuity | ||||||||||||
| Chronology | 2006-7 | ||||||||||||
The Decepticons attempt to erase evidence while Ratchet warns Prowl of the situation.
Synopsis

Trapped in a containment cell, Verity Carlo offers an ultimatum to her Autobot captors: if they don't let her and her friends out, she wipes the SM-40 that's prompted such interest from both sides. Sunstreaker is unmoved, and flicks the security camera to "mute" as Prowl gives Ratchet a thorough dressing-down for disobeying his orders and breaking cover. The Autobot medic tells his side of the story: having arrived too late to prevent the Decepticon assassination of their target of interest, Ratchet wound up clashing with Runamuck and eventually ran across Verity Carlo and Hunter O'Nion. Ratchet concludes his case by arguing that the Autobots are on Earth to save lives from wanton Decepticon action, and that's exactly what he tried to do.
Prowl is unmoved: not only did the medic fail to rescue his primary target, he points out, but his attempt to play hero has drawn three more innocent lives into the crossfire. Prowl orders Ratchet to find out what's on Verity's computer and then get rid of the humans, and although Ratchet suggests alerting Optimus Prime to the unusual Decepticon activity Prowl just ignores |him. In desperation, Ratchet points out to Ironhide that the local Decepticon cell might have potentially gone rogue... and even if they're acting under orders, their erratic behavior means only one thing: it's a matter of time before Megatron arrives.
In Tucson, Arizona, a police officer is investigating the dead body of the businessman, and tracks his last known whereabouts to a nearby trailer park. No sooner has he arrived than a pair of warplanes—one black, one purple—appear out of thin air, annihilating the dead man's trailer before promptly disappearing again.

As the detained humans argue in their cell, Ratchet's holomatter avatar appears in front of them and persuades Verity to hand the computer over. Ratchet deactivates the holomatter walls of their cell and explains the situation: the humans have been brought aboard the Autobot starship Ark-19, located at the bottom of Lake Michigan. Ratchet plugs in the palmtop into the Ark-19's systems to analyze its contents; at the same time, Ironhide, unbeknownst to all, finishes sending a secret pulsewave to Autobot high command—for Optimus Prime's eyes only.
Ratchet finally reveals the reason why the mysterious businessman had been targeted by the Decepticons: his photos show snapshots of a gigantic Decepticon bunker somewhere in the wilderness of Nebraska. As Ratchet explains the Decepticon infiltration protocol to the confused humans, he points out that something's gone wrong on Earth: the Decepticons have abandoned this base in favor of a secondary command bunker in Oregon, and have initiated siege mode earlier than normal. More intriguingly, the previous holder of the palmtop computer broke into the Nebraska base, snapping photos of its derelict interior. Verity wonders aloud: why would the Decepticons relocate?

In Riverside, a news crew prepares to broadcast a report from the site of Jimmy Pink's destroyed garage. As they set up, however, an ominous rumbling precludes the arrival of Blitzwing in his tank configuration, who levels what remains of Jimmy's garage before trundling over the broadcast vans. The assembled newcasters can only look on in confusion as the tank transforms into a fighter jet and zooms away.
Verity, Hunter and Jimmy insist that Ratchet take them to the Decepticon bunker in Nebraska so that they can locate the proof Ratchet needs to persuade Prowl of the severity of the situation. Ratchet isn't convinced: rescuing them from the crossfire is one thing, but willingly sending them into a dangerous situation is quite another. Their arguments wear him down, however, and Ratchet finally makes up his mind when Bumblebee, who's overheard the argument, offers to help out. The three humans climb aboard as the two Autobots make their way to Nebraska.
In the bus depot in Phoenix, Arizona, a bus lot manager investigates the salvaged bus targeted by the Decepticons. His maintenance concerns are quickly alleviated when the two Decepticons appear and annihilate the bus in another surgical strike. When asked for their next target, however, Decepticon lieutenant Starscream orders Skywarp and Blitzwing to destroy the Nebraska bunker...
Featured characters
(Numbers indicate order of appearance.)
| Autobots | Decepticons | Humans |
|---|---|---|
|
|
Quotes
"Why are we here, on this planet? We're here to save lives. Now okay, maybe we're talking mass numbers, a global scale of species saved, but me, I take it one life at a time."
- —Ratchet
"What peril? You said yourself... it's abandoned."
"Plus, our mystery man got in and out safely. We know that for a fact!"
"And... we laugh in the face of danger!"
-everyone turns to look at Verity-
"Did I really say that?"
- —Hunter, Jimmy, and Verity present their arguments
"Couldn't help but overhear... largely because I was lurking back here, where I had no real good reason to be."
- —Bumblebee
Notes
Continuity notes
- Prowl dismisses Ratchet's actions as being to "give yourself another shot at being a hero", suggesting that the medic has a history of reckless behavior. This might just imply that this isn't the first time that Ratchet's compassionate nature has led him to interfere with native life-forms, but Prowl's off-hand comment has greater meaning in the wake of the "Shadowplay" two-parter in More than Meets the Eye, which revealed that Ratchet was once part of an elaborate heist to steal the Matrix of Leadership from the forces of the Senate.
- This issue introduces the all-important infiltration protocol that the Decepticons operate under. Ratchet notes that he's only ever seen a phase five response once before, and shrugs off Jimmy's question of whether or not there's a phase six by telling him that he doesn't want to know. Spotlight: Sixshot will reveal just what happens in phase six and why Ratchet thinks he's better off not knowing.
- The Autobots have not come to Earth aboard the traditional Ark spaceship, but in the Ark-19. The reasons behind this odd naming scheme will be expounded on in Spotlight: Nightbeat.
Transformers references
- Our mysterious businessman is revealed to have operated the alias of "Finklerock;" this name is a portmanteau derived from the names of Donny Finkleberg and G.B. Blackrock, who were supporting characters from Marvel's original Transformers comics. A reimagined Blackrock would show up a few years later in the pages of Robots in Disguise.
- The Decepticons' current command bunker being located in Oregon shouldn't raise any eyebrows amongst old-school Transformer fans, being the state containing Mount St. Hilary and the primary setting for a lot of classic Transformers material.
Real-world references

- When Bumblebee transforms into his alternate mode, his holomatter avatar resembles Lindsay Lohan. E.J. Su confirmed in January 2021 that this was a deliberate reference by him to Herbie: Fully Loaded, a movie about a girl (Lohan) befriending a sentient Volkswagen, which had come out a year before the comic's release. The script had already said the avatar was female. [1]
Other trivia
- Ratchet mentions his "batch proto-initiator;" presumably, this has something to do with the development of protoforms, but the significance of this statement (outside of being a jokey Transformer-ized colloquialism) has never been expounded on.
- The "Decepticomments" section featured mail answered by Chris Ryall and short ads for next month's issues: Infiltration #4, The Gathering #3, Generations #2.
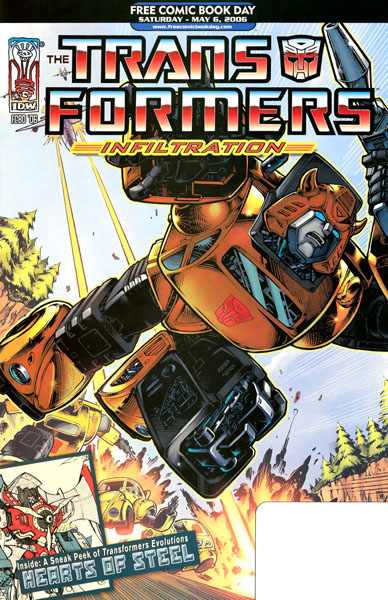
- The first few pages of this story were reprinted as part of a Free Comic Book Day issue by IDW Publishing on May 6th, 2006.
Covers (9)
-
 Infiltration #3 cover A - See what happens when you're a prick!
 -
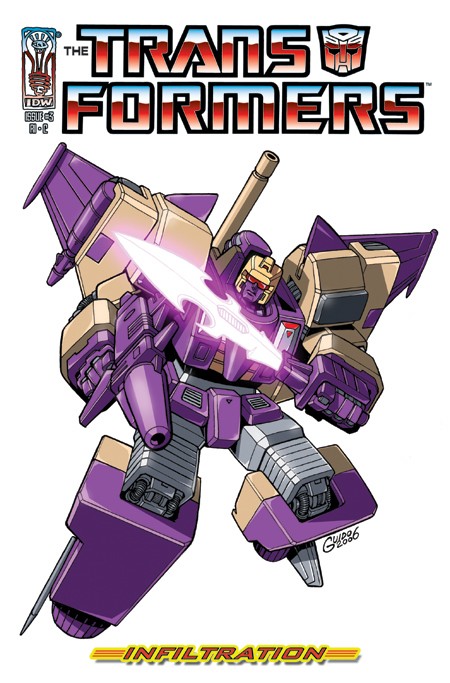
 Infiltration #3 cover B - This time Jazz eats floor, dig?
 -
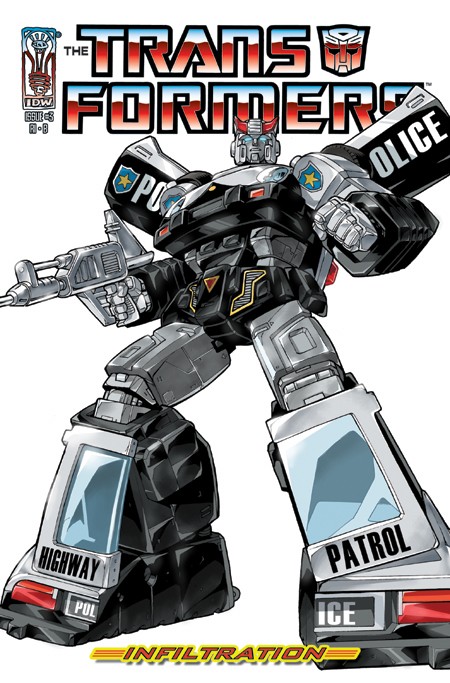
 Infiltration #3 cover C - Triple takeover.
 -
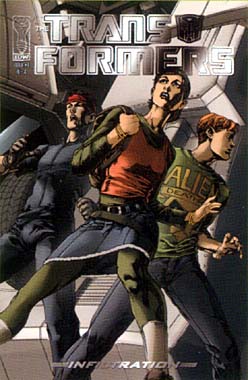
 Infiltration #3 cover D - Raiz draws better humans, hands down!


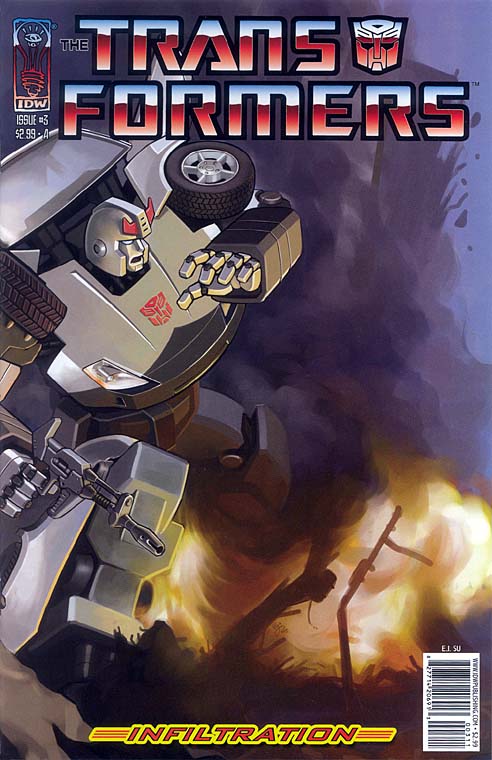
- Infiltration #3 cover A: Prowl amongst explosions, part 2 of a larger image by E. J. Su.
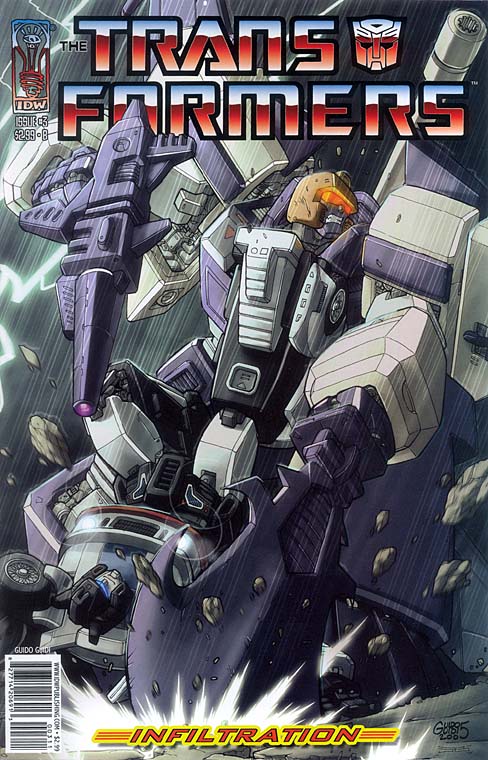
- Infiltration #3 cover B: Blitzwing vs Jazz, by Guido Guidi.
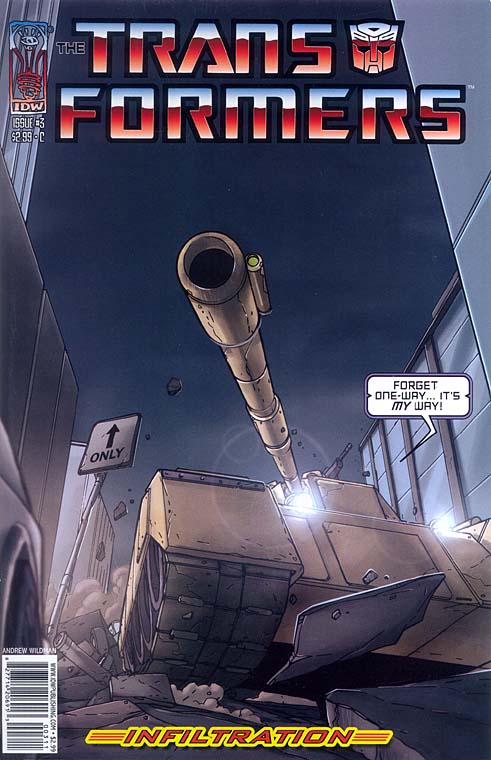
- Infiltration #3 cover C: Blitzwing in tank mode, by Andrew Wildman.
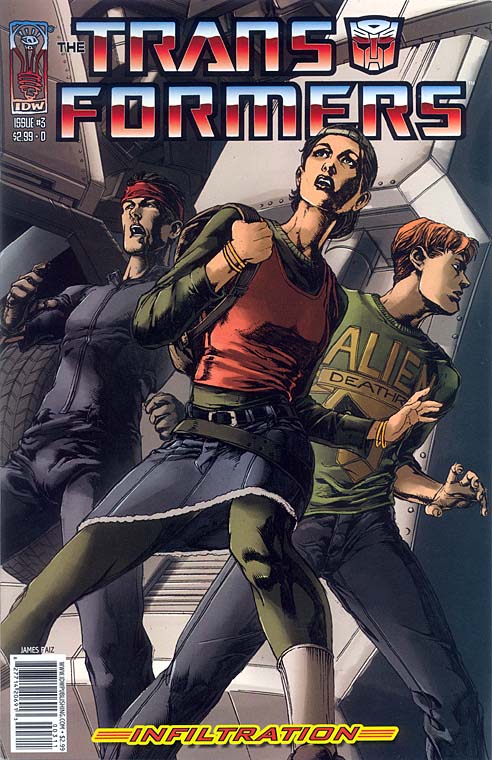
- Infiltration #3 cover D: Humans at Ratchet's feet, by James Raiz.
-
 Infiltration #3 cover RI-A - Oooh, foily!
 -
 Infiltration #3 cover RI-B - Toy accurate prick!
 -
 Infiltration #3 cover RI-C - Mister deadlier-than-thou
 -
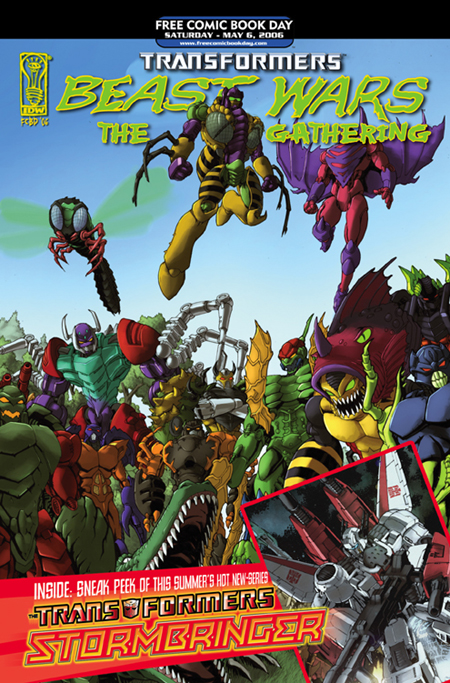 Free Comic Book Day 2006 cover A


- Infiltration #3 cover RI-A: foil stamp of cover D.
- Infiltration #3 cover RI-B: Prowl, by Guido Guidi.
- Infiltration #3 cover RI-C: Blitzwing, by Guido Guidi (includes 4 mini-prints).
- Free Comic Book Day 2006 cover A: reuse of page 1 of Beast Wars: The Gathering issue #2 showing assorted Predacons, art by Don Figueroa, colors by Josh Burcham.
-
 Free Comic Book Day 2006 cover B

- Free Comic Book Day 2006 cover B: reuse of issue #1's cover D.
Advertisements
- 10th Anniversary Beast Wars toys
- Infiltration #4, 2-page B&W sketch preview
- The Gathering #2
- 3-page preview of The Gathering #2
- Generations
- Stormbringer (back cover)
Reprints
Other than reprints of the full series
- N/A
Footnotes
- ↑ Su's twitter, 15th Jan 2021: "To answer a question in the article, the script called for a non-specified female avatar, I decided to make reference to Love Bug with Lindsay Lohan."


