The World & Everything in It
|
{{#if: Stick Together|»}} | |||||||||||||||||||||||||||||||||||||||||||||||||||||||||||||||||||||||||||||||||||||||||||||||||||||||||||||||||||||||||||||||||||||||||||||||||||||||||||||||||||||||||||||||||||||||||||||||||||||||||||||||||||||||||||||||||||||||||||||||||||||||||||||||||||||||||||||||||
| {{#if: |[[|«]]}} | {{#if: |[[|»]]}} | |||||||||||||||||||||||||||||||||||||||||||||||||||||||||||||||||||||||||||||||||||||||||||||||||||||||||||||||||||||||||||||||||||||||||||||||||||||||||||||||||||||||||||||||||||||||||||||||||||||||||||||||||||||||||||||||||||||||||||||||||||||||||||||||||||||||||||||||||
| {{#if: |[[|«]]}} | {{#if: |[[|»]]}} | |||||||||||||||||||||||||||||||||||||||||||||||||||||||||||||||||||||||||||||||||||||||||||||||||||||||||||||||||||||||||||||||||||||||||||||||||||||||||||||||||||||||||||||||||||||||||||||||||||||||||||||||||||||||||||||||||||||||||||||||||||||||||||||||||||||||||||||||||
| {{#if: |[[|«]]}} | {{#if: |[[|»]]}} | |||||||||||||||||||||||||||||||||||||||||||||||||||||||||||||||||||||||||||||||||||||||||||||||||||||||||||||||||||||||||||||||||||||||||||||||||||||||||||||||||||||||||||||||||||||||||||||||||||||||||||||||||||||||||||||||||||||||||||||||||||||||||||||||||||||||||||||||||
|-
{{#if: RID2_cvrB.jpg |
| colspan="2" style="font-size: 12px; background-color:#ffffff;" align="center" |
{{#if: |
}}}}
|-
|colspan="2" style="font-size: 14px; background-color:#e7d492; color:black;font-weight:bold;" align="center" | "The World & Everything in It" {{#if: |
(')}} {{#if:|
""}}
}}
|-
{{#if: IDW Publishing |
|Publisher || IDW Publishing}}
|-
{{#if: |
|Published by || }}
|-
{{#if: |
|Imprint || }}
|-
{{#if: |
|Published in || }}
|-
{{#if: February 22, 2012 (1st printing)
March 21, 2012 (2nd printing) |
|First published || February 22, 2012 (1st printing)
March 21, 2012 (2nd printing)}}
|-
{{#if: |
|Shipping date || }}
|-
{{#if: |
|On-sale date || }}
|-
{{#if: February 2012 |
|Cover date || February 2012}}
|-
{{#if: |
|Credits || }}
|-
{{#if: |
|By || }}
|-
{{#if: |
|Manga || }}
|-
{{#if: |
|Manga by || }}
|-
{{#if: |
|Original story || }}
|-
{{#if: |
|Story & art by || }}
|-
{{#if: |
|Story and color art || }}
|-
{{#if: |
|Story || }}
|-
{{#if: John Barber |
|Story by || John Barber}}
|-
{{#if: |
|Story consultants || }}
|-
{{#if: |
|Story concept || }}
|-
{{#if: |
|Screenplay by || }}
|-
{{#if: |
|Screenplay || }}
|-
{{#if: |
|Adaptation by || }}
|-
{{#if: |
|Adapted by || }}
|-
{{#if: |
|Adaptation || }}
|-
{{#if: |
|Based on || }}
|-
{{#if: |
|Writer || }}
|-
{{#if: |
|Writers || }}
|-
{{#if: |
|Writing || }}
|-
{{#if: |
|Written by || }}
|-
{{#if: |
|Written & art || }}
|-
{{#if: |
|Plotter || }}
|-
{{#if: |
|Plotters || }}
|-
{{#if: |
|Plot || }}
|-
{{#if: |
|Plot by || }}
|-
{{#if: |
|Plot/Script || }}
|-
{{#if: |
|Scripter || }}
|-
{{#if: |
|Scripters || }}
|-
{{#if: |
|Script || }}
|-
{{#if: |
|Scripting || }}
|-
{{#if: |
|Script by || }}
|-
{{#if: |
|Script and art || }}
|-
{{#if: |
|Sript [sic] consultant || }}
|-
{{#if: |
|Translation by || }}
|-
{{#if: |
|Artist || }}
|-
{{#if: |
|Comic artist || }}
|-
{{#if: |
|Artists || }}
|-
{{#if: |
|Art || }}
|-
{{#if: Andrew Griffith |
|Art by || Andrew Griffith}}
|-
{{#if: |
|Additional art by || }}
|-
{{#if: |
|Flashback art by || }}
|-
{{#if: |
|Art assistant || }}
|-
{{#if: |
|Art assist by || }}
|-
{{#if: |
|Line-art || }}
|-
{{#if: |
|Line-art by || }}
|-
{{#if: |
|Line art by || }}
|-
{{#if: |
|Penciller || }}
|-
{{#if: |
|Pencillers || }}
|-
{{#if: |
|Penciler || }}
|-
{{#if: |
|Pencilers || }}
|-
{{#if: |
|Pencil art || }}
|-
{{#if: |
|Pencils || }}
|-
{{#if: |
|Pencils by || }}
|-
{{#if: |
|Penciled by || }}
|-
{{#if: |
|Penciling || }}
|-
{{#if: |
|Guest penciler || }}
|-
{{#if: |
|Layouts || }}
|-
{{#if: |
|Pencil breakdowns || }}
|-
{{#if: |
|Breakdowns || }}
|-
{{#if: |
|Breakdowns by || }}
|-
{{#if: |
|Illustration || }}
|-
{{#if: |
|Illustrations || }}
|-
{{#if: |
|Illustrator || }}
|-
{{#if: |
|Illustrated by || }}
|-
{{#if: |
|Illustration by || }}
|-
{{#if: |
|Illustrations by || }}
|-
{{#if: |
|Finished pencils || }}
|-
{{#if: |
|Finishes || }}
|-
{{#if: |
|Finished art || }}
|-
{{#if: |
|Finishes by || }}
|-
{{#if: |
|Inker || }}
|-
{{#if: |
|Guest inker || }}
|-
{{#if: |
|Inkers || }}
|-
{{#if: |
|Inks || }}
|-
{{#if: |
|Inks by || }}
|-
{{#if: |
|Ink finishes || }}
|-
{{#if: |
|Ink assist by || }}
|-
{{#if: |
|Additional inks || }}
|-
{{#if: |
|Inking || }}
|-
{{#if: |
|Backgrounds || }}
|-
{{#if: |
|Backgrounds by || }}
|-
{{#if: |
|Colorist || }}
|-
{{#if: |
|Colorists || }}
|-
{{#if: |
|Colourist || }}
|-
{{#if: |
|Colourists || }}
|-
{{#if: |
|Color || }}
|-
{{#if: |
|Colors || }}
|-
{{#if: |
|Color art || }}
|-
{{#if: |
|Colour || }}
|-
{{#if: |
|Colours || }}
|-
{{#if: |
|Colored by || }}
|-
{{#if: |
|Color by || }}
|-
{{#if: Josh Perez |
|Colors by || Josh Perez}}
|-
{{#if: |
|Color art by || }}
|-
{{#if: |
|Colors assist by || }}
|-
{{#if: |
|Color assists || }}
|-
{{#if: |
|Color assistance by || }}
|-
{{#if: |
|Additional colors || }}
|-
{{#if: |
|Additional colors by || }}
|-
{{#if: |
|Color assist by || }}
|-
{{#if: |
|Colour/Computer FX || }}
|-
{{#if: |
|Computer coloring/effects || }}
|-
{{#if: |
|Color Reconstruction || }}
|-
{{#if: |
|Flats || }}
|-
{{#if: |
|Flats by || }}
|-
{{#if: |
|MTMTE Profiles || }}
|-
{{#if: |
|Letterer || }}
|-
{{#if: |
|Letterers || }}
|-
{{#if: |
|Lettering || }}
|-
{{#if: |
|Letters || }}
|-
{{#if: Shawn Lee |
|Letters by || Shawn Lee}}
|-
{{#if: |
|Lettered by || }}
|-
{{#if: |
|Lettering|Production || }}
|-
{{#if: |
|Special Thanks{{#if: | To}} || }}
|-
{{#if: |
|Collaborators || }}
|-
{{#if: |
|Contributors || }}
|-
{{#if: Carlos Guzman |
|Editor || Carlos Guzman}}
|-
{{#if: |
|Editors || }}
|-
{{#if: |
|Editing || }}
|-
{{#if: |
|Edits by || }}
|-
{{#if: |
|Compiled and Edited by || }}
|-
{{#if: |
|Original series editor || }}
|-
{{#if: |
|Original Edits by || }}
|-
{{#if: |
|Deputy editor || }}
|-
{{#if: |
|Assistant editor || }}
|-
{{#if: |
|Editorial assistant{{#if: |s}} || }}
|-
{{#if: |
|Editorial Assistance
provided by || }}
|-
{{#if: |
|Senior editor || }}
|-
{{#if: |
|Associate editor || }}
|-
{{#if: |
|Story consultant || }}
|-
{{#if: |
|Project manager || }}
|-
{{#if: |
|Production by || }}
|-
{{#if: |
|Designer || }}
|-
{{#if: |
|Design by || }}
|-
{{#if: |
|Designed by || }}
|-
{{#if: |
|Design/editorial || }}
|-
{{#if: |
|Book design by || }}
|-
{{#if: |
|Collection designer || }}
|-
{{#if: |
|Collection editor || }}
|-
{{#if: |
|Collection Edits by || }}
|-
{{#if: |
|Graphic design || }}
|-
{{#if: |
|Graphic design by || }}
|-
{{#if: |
|Collection Design by || }}
|-
{{#if: |
|Creative Director{{#if: | / Layout}} || }}
|-
{{#if: |
|Contributing editors || }}
|-
{{#if: |
|Research editor{{#if: |s}} || }}
|-
{{#if: |
|Managing editor || }}
|-
{{#if: |
|{{#if: |Editor-in-chief|Editor in chief}} || }}
|-
{{#if: |
|Editorial consultant || }}
|-
{{#if: |
|Dinosaur consultant || }}
|-
{{#if: |
|Publishing manager || }}
|-
{{#if: |
|Cover || }}
|-
{{#if: |
|Cover art{{#if: |ist}}{{#if: | by}} || }}
|-
{{#if: |
|Cover Design {{#if: |and Elements }}by || }}
|-
{{#if: |
|Inside cover || }}
|-
{{#if: |
|Apologies to || }}
|-
{{#if: 2005 IDW continuity |
|Continuity || 2005 IDW continuity}}
|-
{{#if: Current era (2012) |
|Chronology || Current era (2012)}}
|-
{{#if: |
|ISBN || }}
|-
{{#if: |
|TPB ISBN || ISBN }}
|-
{{#if: |
|UPC || }}
|-
{{#if: |
|Page count || }}
|-
{{#if: |
|Price || }}
|-
{{#if: |
|Packaged with || }}
|-
{{#if: |
|Printed in || }}
|-
{{#if: |
|Animation || }}
|-
{{#if: |
|Music || }}
|}{{#switch:{{#sub:xx|2|14}}|dark cybertron=}}
Starscream helps the Autobots to foil Ratbat's plans.
Synopsis
[edit]After witnessing Horri-Bull's death, Skywarp teleports back to the Decepticon HQ. Ratbat boasts to the Decepticons that it is thanks to him (with just a little help from Soundwave and Shockwave) that their inhibitor/deterrence chips actually no longer work, rendering them all free once again. He then warns the Decepticons about the consequences of disobeying his rule, at which point Starscream protests and leaves. Ratbat orders Long Haul to tail him. Starscream thinks to himself that he despises Ratbat more than anything, being the personification of the ancient Senate's privileged corruption that was everything the Decepticons initially stood against in the first place.
Bumblebee and Metalhawk discuss the planned memorial for the Lost Light and the Horri-Bull incident, with Metalhawk stating that he cannot endorse Bumblebee if he were to murder another Cybertronian, Decepticon or not. Sideswipe interrupts them, as he has just sighted Starscream. The latter is received at Autobot HQ by Bumblebee himself. Starscream seemingly wants to cut a deal with the Autobots, but a furious Bumblebee declares he is done trusting that faction and electro-shocks him with a specially modified weaponized cane. He and Prowl take Starscream away.
Starscream wakes up in a cell, and Prowl interrogates him. Surprising both of them, Starscream tells the truth: Ratbat wants to assassinate Bumblebee at the memorial, courtesy of an I/D-chip-free Skywarp, and then will blame the incident on a NAIL—after which time he'll launch a full-scale assault and make his coup.
Elsewhere, Skywarp and Needlenose beat up the NAIL who they blame for instigating Horri-Bull's death. Skywarp teleports away with him.
At the memorial, Long Haul confronts Starscream and demands to know his motives. He reveals that he knows of Starscream's stay at Autobot HQ but that he hasn't informed the others of this yet. Starscream appreciates this. As the memorial begins, Bumblebee makes a rallying speech, while Skywarp, hidden with Zetca in a nearby tower, aims for him with his rifle... only to be stopped by Prowl, who had logically identified that tower as the perfect spot for a sniper. After a quick fight, Skywarp is deactivated, and, on stage, Metalhawk pledges his devotion to the new Cybertron. Long Haul is disturbed by the fact that Bumblebee is not dead, but Starscream tells him to inform Ratbat that the assassination was successful.
Back at Decepticon HQ, Mixmaster tells Ratbat that Bumblebee died, and Ratbat tells the remaining Decepticons to prepare for his assault. Shockwave seems less than enthused, even by his own unemotional standards. Nonetheless, Ratbat retreats to prepare in his quarters, where he is attacked by Arcee, who easily kills him before joining Prowl at the tower. The two agree that Arcee tried to arrest Ratbat, but he was armed and aggressive, and Arcee was merely defending herself.
While Bumblebee continues his speech, Starscream interrupts him, declaring that, for the new era of unity to work, Starscream has to be part of the government.
Featured characters
[edit]{{#if: ||(Numbers indicate order of appearance.)}}
| Autobots }}{{#if:{|border="0" cellpadding="0" cellspacing="0" style="background:transparent" | |
|---|---|
|
!! style="background:#ededff" | Decepticons }}{{#if:* Zetca (1)
- Scrambling neon NAIL and friend (3, 5)
- Green and yellow NAIL (4)
- "Green Cy-Kill" (7)
- Metalhawk (9)
- Voxpop (10)
- Arcee (26)|
!! style="background:#fbefde;" | NAILs }}{{#if:| !! style="background:#ffeeb8;" | Others }}{{#if:| !! style="background:#d5e6d5;" | Misc }}{{#if:| !! style="background:#fedeb5;" | Misc }} |- {{#if:* Bumblebee (8)
- Sideswipe (21)
- Prowl (22)
- Wheeljack (23)
- Ironhide (24)|| style="background:#ffdddd;" valign="top" |
- Bumblebee (8)
- Sideswipe (21)
- Prowl (22)
- Wheeljack (23)
- Ironhide (24) }}{{#if:{|border="0" cellpadding="0" cellspacing="0" style="background:transparent"
|- |style="background:transparent; border-right: 0px" valign="top"|
- Horri-Bull (2)
- Needlenose (6)
- Skywarp (11)
- Starscream (12)
- Bombshell (13)
- Soundwave (14)
- Ravage (15)
|style="background:transparent; border-right: 0px" valign="top"|
|}| | style="background:#ededff;" valign="top" |
|
- Scrambling neon NAIL and friend (3, 5)
- Green and yellow NAIL (4)
- "Green Cy-Kill" (7)
- Metalhawk (9)
- Voxpop (10)
- Arcee (26)|
| style="background:#fbefde;" valign="top" |
- Zetca (1)
- Scrambling neon NAIL and friend (3, 5)
- Green and yellow NAIL (4)
- "Green Cy-Kill" (7)
- Metalhawk (9)
- Voxpop (10)
- Arcee (26) }}{{#if:|
| style="background:#ffeeb8;" valign="top" |
}}{{#if:|
| style="background:#d5e6d5;" valign="top" |
}}{{#if:|
| style="background:#fedeb5;" valign="top" |
}}|}
Quotes
[edit]"Fantastic. I'll go back to Earth and strike up a conversation with a fortune cookie when I want nuggets like that."
- —Starscream whines. Again.
"They are not my people, Bumblebee. They are people. As are the Decepticons."
- —Metalhawk
"You... you tried to arrest him, right, Arcee?"
"Why would—"
"You tried to arrest him."
"Of course. He was armed and I had to kill him in self defense."
- —Prowl and Arcee get their stories straight
Notes
[edit]Continuity notes
[edit]- Ratbat recalls his involvement in Megatron Origin, and how his manipulations caused the Decepticon uprising in the first place.
- Prowl remembers the "last time" the Autobots trusted Starscream, referring to All Hail Megatron, in which the Seeker lured them into a trap.
- Skywarp speaks of the payback he owes Bumblebee, evidently still bitter about the defeat 'Bee handed him in Bumblebee #4.
- Soundwave’s vocal processors are still damaged to the point he can’t talk, as a result of Optimus Prime, uh, shooting him in the face back in issue 17 of the ongoing.
Foreign localization
[edit]Japanese
- Title: "Sekai to Sono Subete" (世界とその全て, "The World and That Everything")
Covers (4)
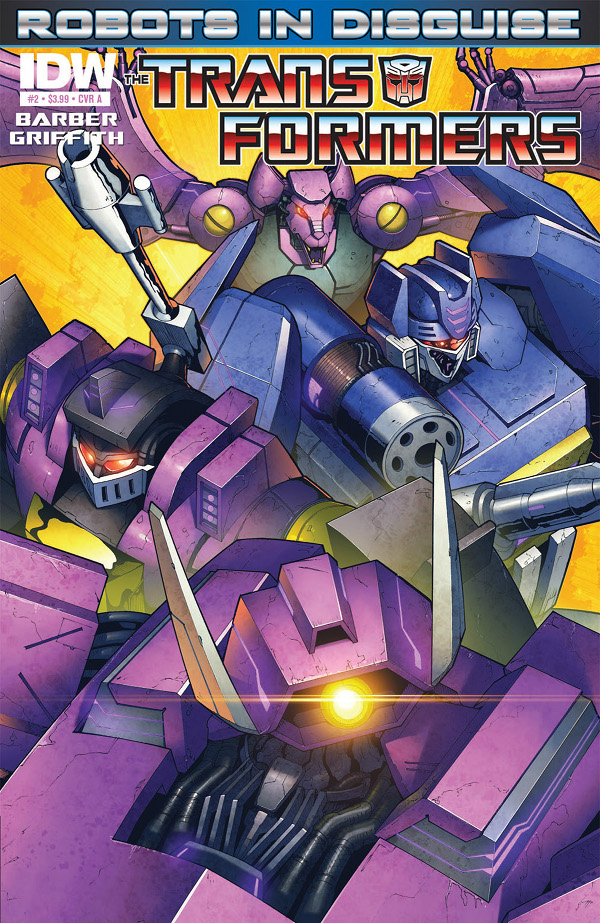
[edit]- Cover A: Shockwave, Bombshell, Soundwave, and Ratbat; art by Andrew Griffith and Josh Perez
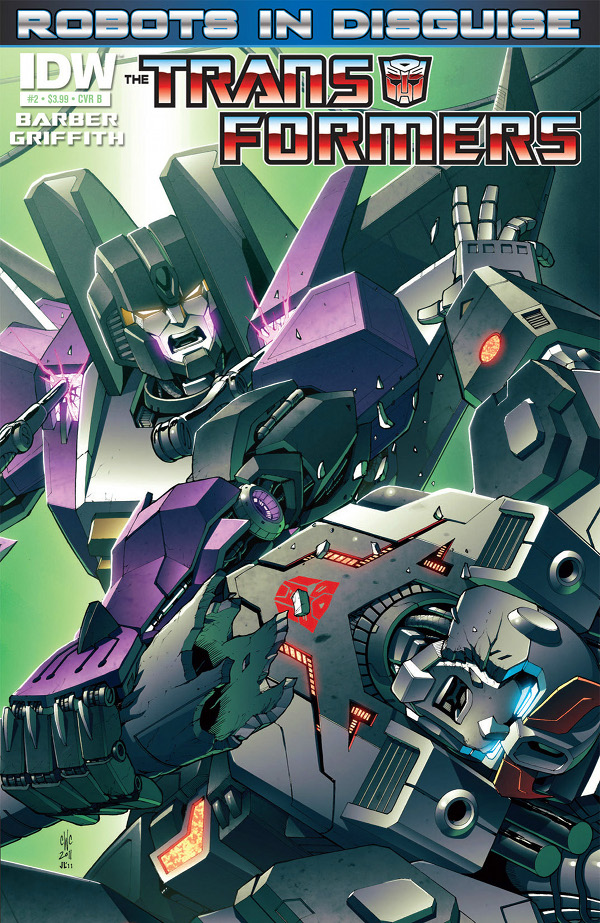
- Cover B: Skywarp punching Prowl; art by Casey Coller and Joana Lafuente
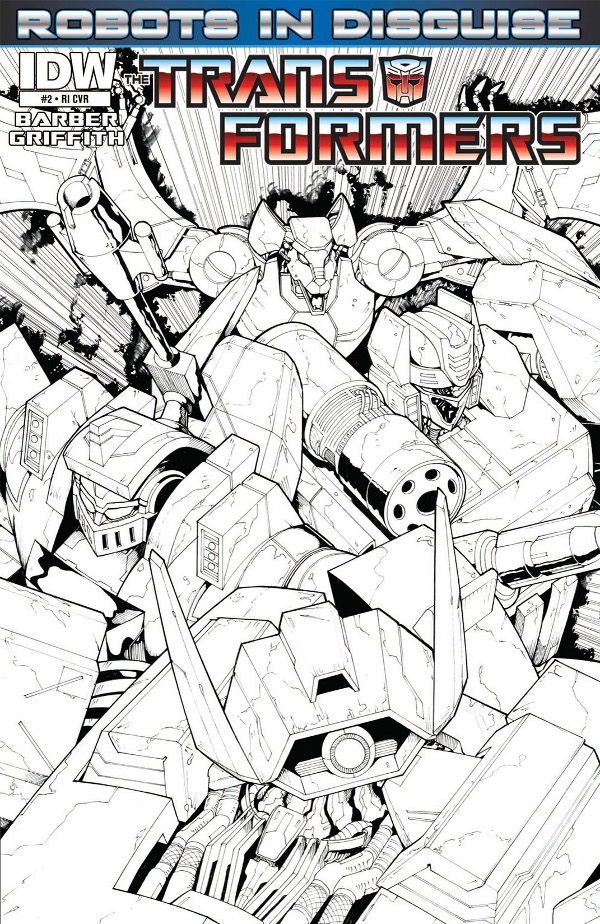
- Cover RI: Sketch version of Cover A by Andrew Griffith
- Second printing: Starscream stalks the streets by Griffith and Perez, cropped from page 4
-
"I get another closeup: extremely logical!"
-
Skywarp thinks he's Ironhide.
-
Ratbat sucked out the colors.
-
Is anyone else getting Pat Lee flashbacks?
Advertisements
[edit]{{#if: Starscream_earmissing.png |
{{ #if: Something's missing... |Something's missing... {{#if: {{#if: |What's needed: |}}|{{#if: |What's needed: |}}|}}
|}} This comic issue article is a stub and is missing information. |
{{#ifeq: ||}}{{#ifeq: |File|}}
Reprints
[edit]- The Transformers: Robots in Disguise Volume 1 (July 25, 2012) ISBN 1613772912 / ISBN 978-1613772911
- Collects Robots in Disguise issues #1–5.
- Bonus material includes art from most covers and notes on issue #3 by the author/artists.
- Trade paperback format.
- The Transformers: Robots in Disguise Volume 1 (Reissue) (May 21, 2014) ISBN 161377964X / ISBN 978-1613779644
- Collects Robots in Disguise issues #1–5.
- New cover by Livio Ramondelli.
- Bonus material includes cover gallery and notes on issue 3 by Barber, Griffith, and Josh Perez.
- Trade paperback format.
- The Transformers: The IDW Collection Phase Two: Volume 1 (September 3, 2014) ISBN 1631400401 / ISBN 978-1631400407
- Collects The Death of Optimus Prime, More than Meets the Eye issues #1–3 & #4–5, and Robots in Disguise issues #1–5 & #6.
- Hardcover format.
- Transformers: Robots in Disguise Box Set (December 2, 2015) ISBN 1631404261 / ISBN 978-1631404269
- Collects Robots in Disguise Volumes 1–5.
- Bonus material unknown at this time.
- Transformers: The Definitive G1 Collection: Volume 54: A Better Tomorrow (April 3, 2019)
- Collects Robots in Disguise issues #1–7.
- Bonus material includes a new interview about the Robots in Disguise by John Barber.
- Hardcover format.
-
Robots in Disguise Volume 1 – cover art by Andrew Griffith and Josh Perez
-
Robots in Disguise Volume 1 – cover art by Livio Ramondelli
-
The IDW Collection Phase Two: Volume 1 – cover art by Saren Stone
-
Robots in Disguise Box Set – cover art by by ???
-
The Definitive G1 Collection: Volume 54: A Better Tomorrow – cover art by Don Figueroa and Andrew Griffith


