Spotlight: Hot Rod: Difference between revisions
mNo edit summary |
No edit summary |
||
| (26 intermediate revisions by 13 users not shown) | |||
| Line 3: | Line 3: | ||
|prev=Spotlight: Nightbeat | |prev=Spotlight: Nightbeat | ||
|next=Spotlight: Sixshot | |next=Spotlight: Sixshot | ||
|image= | |image=Spotlight HotRod cvrA.jpg | ||
|caption=The Big Astro-Kahuna | |caption=The Big Astro-Kahuna | ||
|title="The Transformers: Spotlight Hot Rod" | |title="The Transformers: Spotlight Hot Rod" | ||
| Line 14: | Line 14: | ||
|letters by=[[Robbie Robbins]] | |letters by=[[Robbie Robbins]] | ||
|edits by=[[Dan Taylor (IDW)|Dan Taylor]] | |edits by=[[Dan Taylor (IDW)|Dan Taylor]] | ||
|continuity=[[ | |continuity=[[2005 IDW continuity]] | ||
|chronology=[[IDW timeline# | |chronology=[[2005 IDW timeline#1900s|1900s]] | ||
}} | }} | ||
| Line 21: | Line 21: | ||
==Synopsis== | ==Synopsis== | ||
[[File:SpotlightHotRod | [[File:SpotlightHotRod rush.jpg|thumb|left|200px]] | ||
[[Hot Rod (G1)/IDW | [[Hot Rod (G1)/2005 IDW continuity|Hot Rod]] has always been something of a daredevil, pulling of stunts that few other [[Autobot]]s have the courage — or sanity — to try. On his latest escapade, he's hitching a ride on a passing meteoroid on a one-way trip to an icy moon. After all, he rationalizes as he hits the atmosphere, the ''more'' insane it is, the less inclined any Decepticon will be to try and stop him! Hot Rod deploys his on-board [[null field]] to arrest his descent, but even so, the rough landing knocks him unconscious, and he as he lies in the snow he can't help but flash back to his first mission as a field commander — and his first failure... | ||
Hot Rod | ''In the silicon steppes of the planet [[Ki-Aleta]], Hot Rod and his unit, consisting of [[Download]], [[Gizmo]], [[Backbeat]], and [[Doubledealer|Dealer]], power through the badlands until an eager Hot Rod announces that they've reached their destination: a gigantic stone tomb known only as the [[Omega Bunker]]. Hot Rod's team establishes a perimeter, sets up a series of decoys, and deploys some [[bore drone]]s as their leader lays down the mission specifics: the building holds the enigmatic trinket known only as the "[[Epistemus|Magnificence]]," an enigmatic artifact guarded by the immensely powerful stone golems called the [[Omega Guardian]]s; the only way that the Autobots will be able to get their hands on the Magnificence without provoking the wrath of the Guardians will be through speed and subterfuge.'' | ||
Regaining consciousness, Hot Rod takes in his surroundings. He's made it to [[Styx]], the harshest of the [[Decepticon]] penal colonies, and, according to Autobot intelligence, the one most difficult to infiltrate. Hot Rod has another trick up his sleeve, however, and deploys a [[viral carrier wave]] to covertly scramble the base's security system. Within, warden [[Gutcruncher (G1)|Gutcruncher]], reports on the gaps in his monitor feed... unaware that these gaps are specifically timed to allow Hot Rod to pass through the malfunctioning areas before they return to normal. Hot Rod slips through gap after gap, taking advantage of blanks in the cameras and redirected security patrols and makes his way to cellblock Z-lateral, hoping to find redemption for his earlier mistake... | |||
''Having set up their decoys, the Autobots swing into action: Gizmo uses his [[holomatter]] [[holomatter generator|generator]] to distract the Omega Guardians with an illusory copy of the Autobots. The Omega Guardians are fooled by the trick and lumber into battle while Hot Rod and Download slip into a tunnel created by the bore drones, following the opening deep into the Omega Bunker.'' | |||
[[File:SpotlightHotRod-magnificence.jpg|thumb|right|250px]] | |||
''It doesn't take long before the two Autobots emerge in the depths of the temple, where they are confronted with the Magnificence. At Hot Rod's urging, Download sets about deactivating the device's energy shield to safely retrieve it when a terrified Gizmo cuts in, warning his leader that the holomatter generator has been destroyed — and that the Guardians are coming for them! Hot Rod yells for his team to abort the mission and fall back, but it's no use: Gizmo is blown to bits by the Guardian onslaught. Within the Magnificence's antechamber, Download cheerfully reveals that he's deactivated the Magnificence's containment shield... only to be annihilated by a pair of concealed Omega Guardians.'' | |||
In the present, Hot Rod's virus has wrought havoc on Styx; as the virus works its way through the system, it deactivates every cell door in the complex, and, as the prisoners riot, Hot Rod takes advantage of the confusion to don a hologram projector, disguising himself as a Decepticon. As the Decepticon commanders are safely evacuated to an orbital relay point, Hot Rod picks his way through the Z-lateral prison block before finally reaching his target of interest. Huddled in the back of his cell is a terrified Dealer, last surviving member of Hot Rod's Ki-Aleta mission... | |||
''As Hot Rod escapes with the Magnificence, he receives a transmission from Dealer, who reports that he's been pinned down by a Decepticon ambush and needs Hot Rod's help. Hot Rod is momentarily torn — but ultimately, his desire to help his squadmate is overruled by his optics-only orders: that safely retrieving Magnificence takes priority over everything else. Hating himself, Hot Rod abandons Dealer to his fate, escaping down a secret backup tunnel and blaming himself for the loss of his teammates all the while...'' | |||
[[File:SpotlightHotRod-rescuingdealer.jpg|thumb|left|250px]] | |||
In the present day, Hot Rod uses another holographic disguise on Dealer and the disguised Autobots make a break for it, reaching the prison's landing pad in time to reach the last outbound ship. Hot Rod drops his disguise just long enough to take out the two guards, and, with Dealer in tow, makes a clean getaway. As the ship hits lightspeed, Hot Rod mulls on his lone wolf tendencies: since Ki-Aleta, he's always preferred to run solo, but if he can make amends for his past mistakes, then maybe he can become a team player again. | |||
At a nearby Autobot space station, Hot Rod tries to apologize to Dealer for leaving him behind, but Dealer just smiles: he's just happy that Hot Rod risked so much to come back for him, and all he wants is for them to be friends... | |||
...but when Hot Rod is gone, Dealer — a Decepticon double agent! — partakes in a secret conversation with his contact [[Banzai-Tron (G1)|Banzaitron]]. Dealer had compromised the entire operation from the start: he'd sabotaged the holomatter generator to eliminate the other Autobots, and his phony transmission of a "Decepticon ambush" was a deliberate ploy to lure Hot Rod and the Magnificence into Decepticon hands. Dealer assures Banzaitron that Hot Rod still trusts him, and, with enough manipulation, Hot Rod will trust him enough to reveal the location of the Magnificence! Banzaitron laughs — the duplicitous Dealer is so good at his job, he remarks, that perhaps he should call the spy "[[Doubledealer]]"... | |||
==Featured characters== | ==Featured characters== | ||
{{featuredcharacters | {{featuredcharacters | ||
|c1= | |c1= | ||
*[[Hot Rod (G1)/IDW | * [[Hot Rod (G1)/2005 IDW continuity|Hot Rod]] (1) | ||
*[[Download]] (2) | * [[Download]] (2) | ||
*[[Gizmo]] (3) | * [[Gizmo]] (3) | ||
*[[Backbeat]] (4) | * [[Backbeat]] (4) | ||
|c2= | |c2= | ||
*[[Doubledealer]] (5) | * [[Doubledealer]] (5) | ||
*[[Gutcruncher (G1)|Gutcruncher]] ( | * [[Gutcruncher (G1)|Gutcruncher]] (7) | ||
*[[Crankshot]] ( | * [[Crankshot]] (8) | ||
*[[Demo]] ( | * [[Demo]] (9) | ||
*[[Jugurnot]] ( | * [[Jugurnot]] (11) | ||
*[[Banzai-Tron (G1)|Banzaitron]] (10) | * [[Banzai-Tron (G1)|Banzaitron]] (12) | ||
|c4= | |||
* [[Omega Guardian]]s (6) | |||
* ''[[Epistemus|Magnificence]]'' (10) | |||
}} | }} | ||
==Quotes== | |||
: "But in my book, there's no 'can't be done.' There's '''always''' a way... and the more downright '''insane''' it seems... the less anyone will be '''expecting''' it!" | |||
:—'''Hot Rod''' | |||
==Notes== | ==Notes== | ||
===Continuity notes=== | ===Continuity notes=== | ||
* Backbeat's fate is | * Backbeat's fate is not shown, though a close reading implies (subtly) that he was manning the holo-matter generator with Gizmo. "[[Spotlight: Doubledealer]]" would later reveal that he died as well. | ||
* The Magnificence enjoyed something of a checkered history in IDW continuity: following its introduction here, it would see use one more time in the aforementioned ''Spotlight'' issue before going on to be entirely forgotten. More than a decade(!) later, we'd finally get some more information about the artifact and its potential origins in the pages of ''[[The Transformers: Lost Light|Lost Light]],'' including why it shows up in the appearances section (hint). | |||
===Transformers references=== | ===Transformers references=== | ||
* The Magnificence is colored to resemble the [[Pearl of Bahoudin]]. | * It shouldn't come as much of a surprise to the initiated that a blue-and-grey 'bot named "Dealer" might not be entirely on the up-and-up. (Double)Dealer makes his first appearance in IDW continuity in this issue, in his traditional role as a double agent; he's been somewhat redesigned from his toy, however, and doesn't seem to possess his tertiary bird mode, which was his original "Decepticon" body. | ||
* The Magnificence is colored to resemble the [[Pearl of Bahoudin]], which appeared in the original [[The Transformers (cartoon)|cartoon]] episode "[[Trans-Europe Express]]." | |||
===Real-world references=== | |||
* The name "Styx," is, of course, a reference to the [[w:Styx|mythological river of the Greek underworld]]. (Though it's possible that [[Simon Furman]] might just be a fan of {{w|Styx (band)|the band of the same name}}.) | |||
===Errors=== | |||
* ''Simulacrum'' is consistently misspelled ''simulcrum'', without the a. | |||
===Other trivia=== | ===Other trivia=== | ||
| Line 58: | Line 89: | ||
===Covers (4)=== | ===Covers (4)=== | ||
* '''Cover A:''' Hot Rod | * '''Cover A:''' Hot Rod surfs a meteor by [[Nick Roche]] and [[Rob Ruffolo]] (colors). | ||
* '''Cover B:''' Hot Rod | * '''Cover B:''' Hot Rod bursts out of another Hot Rod by [[James Raiz]] and [[Rob Ruffolo]] (colors). | ||
* '''Cover RI-A:''' Cover A uncolored | * '''Cover RI-A:''' Cover A uncolored | ||
* '''Cover RI-B:''' Cover B uncolored | * '''Cover RI-B:''' Cover B uncolored | ||
<gallery> | <gallery> | ||
Image: | Image:Spotlight HotRod cvrA.jpg|Cowabunga! | ||
Image:Spotlight HotRod | Image:Spotlight HotRod cvrB.jpg|The only one better than me is... me! | ||
Image:Spotlight HotRod | Image:Spotlight HotRod cvrRIA.jpg|Cover RI-A | ||
Image:Spotlight HotRod | Image:Spotlight HotRod cvrRIB.jpg|Cover RI-B | ||
</gallery> | </gallery> | ||
| Line 74: | Line 106: | ||
* [[G.I. Joe (team)|G.I. Joe]] with Kung Fu Grip toy | * [[G.I. Joe (team)|G.I. Joe]] with Kung Fu Grip toy | ||
* [[Escalation issue 1|''Escalation'' #1]], including a 3-page preview | * [[Escalation issue 1|''Escalation'' #1]], including a 3-page preview | ||
* IDW trade paperbacks (''[[The Transformers: Infiltration|Infiltration]]'', ''[[The Transformers: Stormbringer|Stormbringer]]'', ''[[Transformers, Beast Wars: The Gathering|The Gathering]]'', ''[[Prime Directive]]'', ''[[War and Peace]]'', ''[[The Transformers: Generations|Generations]]'') | * IDW trade paperbacks (''[[The Transformers: Infiltration|Infiltration]]'', ''[[The Transformers: Stormbringer|Stormbringer]]'', ''[[Transformers, Beast Wars: The Gathering|The Gathering]]'', ''[[Prime Directive]]'', ''[[War and Peace]]'', ''[[The Transformers: Generations (comic)|Generations]]'') | ||
* ''[[The Transformers: The Movie]]'' 20th Anniversary DVD | * ''[[The Transformers: The Movie]]'' 20th Anniversary DVD | ||
* Transformers posters | * Transformers posters | ||
| Line 80: | Line 112: | ||
===Reprints=== | ===Reprints=== | ||
* [[2007]] — '''''[[The Transformers: Spotlight | * [[2007]] — '''''[[The Transformers: Spotlight]] Volume 1''''' <small>([[May 30]], [[2007]]) ISBN 1600100686 / ISBN 978-1600100680</small> | ||
* | * 2007 — '''''[[The Transformers: The Premiere Collection]] Volume 1''''' <small>([[December 5]], 2007) ISBN 1600101186 / ISBN 978-1600101182</small> | ||
* [[2010]] — '''''[[The Transformers: The IDW Collection Volume One]]''''' <small>([[May 26]], [[2010]]) ISBN 1600106676 / ISBN 978-1600106675</small> | * [[2010]] — '''''[[The Transformers: The IDW Collection Volume One]]''''' <small>([[May 26]], [[2010]]) ISBN 1600106676 / ISBN 978-1600106675</small> | ||
* [[2015]] — '''''[[The Transformers: Spotlight]] Omnibus Volume 1''''' <small>([[April 15]], [[2015]]) ISBN 1631402463 / ISBN 978-1631402463</small> | |||
* [[2016]] — '''''[[The Transformers: The IDW Collection Compendium, Vol. 1]]''''' <small>([[July 6]], [[2016]]) ISBN 163140637X / ISBN 978-1631406379</small> | |||
* [[2017]] — '''''[[Transformers: The Definitive G1 Collection]]: Volume 36: Stormbringer''''' <small>([[January 11]], [[2017]])</small> | |||
<gallery> | |||
File:TF Spotlight v1.jpg|'''''Spotlight Volume 1''''' – cover art by [[Nick Roche]] & [[Rob Ruffolo]] | |||
File:Premier Collection 1.jpg|'''''The Premiere Collection Volume 1''''' – cover art by [[Klaus Scherwinski]] | |||
File:IDWCollection1.jpg|'''''The IDW Collection Volume One''''' – cover art by [[E. J. Su]] | |||
File:TF Spotlight Omnibus v1.jpg|'''''Spotlight Omnibus Volume 1''''' – cover art by [[Jeffrey Veregge]] | |||
File:IDWCollectionCompendiumV1.jpg|'''''The IDW Collection Compendium, Vol. 1''''' – cover art by Jeffrey Veregge | |||
File:DefinitiveG1Collection v36.jpg|'''''The Definitive G1 Collection: Volume 36: Stormbringer''''' – cover art by [[Guido Guidi]] | |||
</gallery> | |||
* [[2022]] — '''''[[Transformers: Best of Hot Rod]]''''' <small>([[May 4]], [[2022]])</small> | |||
<gallery> | |||
File:BestOfHotRod cvr.jpg|'''''Best of Hot Rod''''' – cover art by [[James Biggie]] | |||
</gallery> | |||
[[Category:Spotlight issues|Hot Rod]] | [[Category:Spotlight issues|Hot Rod]] | ||
Latest revision as of 22:57, 12 April 2023
| |||||||||||||
 The Big Astro-Kahuna | |||||||||||||
| "The Transformers: Spotlight Hot Rod" | |||||||||||||
| Publisher | IDW Publishing | ||||||||||||
| First published | November 15, 2006 | ||||||||||||
| Cover date | November 2006 | ||||||||||||
| Written by | Simon Furman | ||||||||||||
| Art by | Nick Roche | ||||||||||||
| Colors by | Liam Shalloo | ||||||||||||
| Letters by | Robbie Robbins | ||||||||||||
| Edits by | Dan Taylor | ||||||||||||
| Continuity | 2005 IDW continuity | ||||||||||||
| Chronology | 1900s | ||||||||||||
Hot Rod takes enormous risks to rescue the one he left behind.
Synopsis
[edit]
Hot Rod has always been something of a daredevil, pulling of stunts that few other Autobots have the courage — or sanity — to try. On his latest escapade, he's hitching a ride on a passing meteoroid on a one-way trip to an icy moon. After all, he rationalizes as he hits the atmosphere, the more insane it is, the less inclined any Decepticon will be to try and stop him! Hot Rod deploys his on-board null field to arrest his descent, but even so, the rough landing knocks him unconscious, and he as he lies in the snow he can't help but flash back to his first mission as a field commander — and his first failure...
In the silicon steppes of the planet Ki-Aleta, Hot Rod and his unit, consisting of Download, Gizmo, Backbeat, and Dealer, power through the badlands until an eager Hot Rod announces that they've reached their destination: a gigantic stone tomb known only as the Omega Bunker. Hot Rod's team establishes a perimeter, sets up a series of decoys, and deploys some bore drones as their leader lays down the mission specifics: the building holds the enigmatic trinket known only as the "Magnificence," an enigmatic artifact guarded by the immensely powerful stone golems called the Omega Guardians; the only way that the Autobots will be able to get their hands on the Magnificence without provoking the wrath of the Guardians will be through speed and subterfuge.
Regaining consciousness, Hot Rod takes in his surroundings. He's made it to Styx, the harshest of the Decepticon penal colonies, and, according to Autobot intelligence, the one most difficult to infiltrate. Hot Rod has another trick up his sleeve, however, and deploys a viral carrier wave to covertly scramble the base's security system. Within, warden Gutcruncher, reports on the gaps in his monitor feed... unaware that these gaps are specifically timed to allow Hot Rod to pass through the malfunctioning areas before they return to normal. Hot Rod slips through gap after gap, taking advantage of blanks in the cameras and redirected security patrols and makes his way to cellblock Z-lateral, hoping to find redemption for his earlier mistake...
Having set up their decoys, the Autobots swing into action: Gizmo uses his holomatter generator to distract the Omega Guardians with an illusory copy of the Autobots. The Omega Guardians are fooled by the trick and lumber into battle while Hot Rod and Download slip into a tunnel created by the bore drones, following the opening deep into the Omega Bunker.

It doesn't take long before the two Autobots emerge in the depths of the temple, where they are confronted with the Magnificence. At Hot Rod's urging, Download sets about deactivating the device's energy shield to safely retrieve it when a terrified Gizmo cuts in, warning his leader that the holomatter generator has been destroyed — and that the Guardians are coming for them! Hot Rod yells for his team to abort the mission and fall back, but it's no use: Gizmo is blown to bits by the Guardian onslaught. Within the Magnificence's antechamber, Download cheerfully reveals that he's deactivated the Magnificence's containment shield... only to be annihilated by a pair of concealed Omega Guardians.
In the present, Hot Rod's virus has wrought havoc on Styx; as the virus works its way through the system, it deactivates every cell door in the complex, and, as the prisoners riot, Hot Rod takes advantage of the confusion to don a hologram projector, disguising himself as a Decepticon. As the Decepticon commanders are safely evacuated to an orbital relay point, Hot Rod picks his way through the Z-lateral prison block before finally reaching his target of interest. Huddled in the back of his cell is a terrified Dealer, last surviving member of Hot Rod's Ki-Aleta mission...
As Hot Rod escapes with the Magnificence, he receives a transmission from Dealer, who reports that he's been pinned down by a Decepticon ambush and needs Hot Rod's help. Hot Rod is momentarily torn — but ultimately, his desire to help his squadmate is overruled by his optics-only orders: that safely retrieving Magnificence takes priority over everything else. Hating himself, Hot Rod abandons Dealer to his fate, escaping down a secret backup tunnel and blaming himself for the loss of his teammates all the while...

In the present day, Hot Rod uses another holographic disguise on Dealer and the disguised Autobots make a break for it, reaching the prison's landing pad in time to reach the last outbound ship. Hot Rod drops his disguise just long enough to take out the two guards, and, with Dealer in tow, makes a clean getaway. As the ship hits lightspeed, Hot Rod mulls on his lone wolf tendencies: since Ki-Aleta, he's always preferred to run solo, but if he can make amends for his past mistakes, then maybe he can become a team player again.
At a nearby Autobot space station, Hot Rod tries to apologize to Dealer for leaving him behind, but Dealer just smiles: he's just happy that Hot Rod risked so much to come back for him, and all he wants is for them to be friends...
...but when Hot Rod is gone, Dealer — a Decepticon double agent! — partakes in a secret conversation with his contact Banzaitron. Dealer had compromised the entire operation from the start: he'd sabotaged the holomatter generator to eliminate the other Autobots, and his phony transmission of a "Decepticon ambush" was a deliberate ploy to lure Hot Rod and the Magnificence into Decepticon hands. Dealer assures Banzaitron that Hot Rod still trusts him, and, with enough manipulation, Hot Rod will trust him enough to reveal the location of the Magnificence! Banzaitron laughs — the duplicitous Dealer is so good at his job, he remarks, that perhaps he should call the spy "Doubledealer"...
Featured characters
[edit](Numbers indicate order of appearance.)
| Autobots | Decepticons | Others |
|---|---|---|
|
|
Quotes
[edit]- "But in my book, there's no 'can't be done.' There's always a way... and the more downright insane it seems... the less anyone will be expecting it!"
- —Hot Rod
Notes
[edit]Continuity notes
[edit]- Backbeat's fate is not shown, though a close reading implies (subtly) that he was manning the holo-matter generator with Gizmo. "Spotlight: Doubledealer" would later reveal that he died as well.
- The Magnificence enjoyed something of a checkered history in IDW continuity: following its introduction here, it would see use one more time in the aforementioned Spotlight issue before going on to be entirely forgotten. More than a decade(!) later, we'd finally get some more information about the artifact and its potential origins in the pages of Lost Light, including why it shows up in the appearances section (hint).
Transformers references
[edit]- It shouldn't come as much of a surprise to the initiated that a blue-and-grey 'bot named "Dealer" might not be entirely on the up-and-up. (Double)Dealer makes his first appearance in IDW continuity in this issue, in his traditional role as a double agent; he's been somewhat redesigned from his toy, however, and doesn't seem to possess his tertiary bird mode, which was his original "Decepticon" body.
- The Magnificence is colored to resemble the Pearl of Bahoudin, which appeared in the original cartoon episode "Trans-Europe Express."
Real-world references
[edit]- The name "Styx," is, of course, a reference to the mythological river of the Greek underworld. (Though it's possible that Simon Furman might just be a fan of the band of the same name.)
Errors
[edit]- Simulacrum is consistently misspelled simulcrum, without the a.
Other trivia
[edit]- These are the first official fictional appearances of Gutcruncher and Banzai-Tron, although both were given profiles in Dreamwave Productions' More than Meets the Eye series.
- Banzai-Tron's name is spelled as "Banzaitron", though this may just be a "reinvention" of the name since it is consistent in later issues.
Covers (4)
[edit]- Cover A: Hot Rod surfs a meteor by Nick Roche and Rob Ruffolo (colors).
- Cover B: Hot Rod bursts out of another Hot Rod by James Raiz and Rob Ruffolo (colors).
- Cover RI-A: Cover A uncolored
- Cover RI-B: Cover B uncolored
-
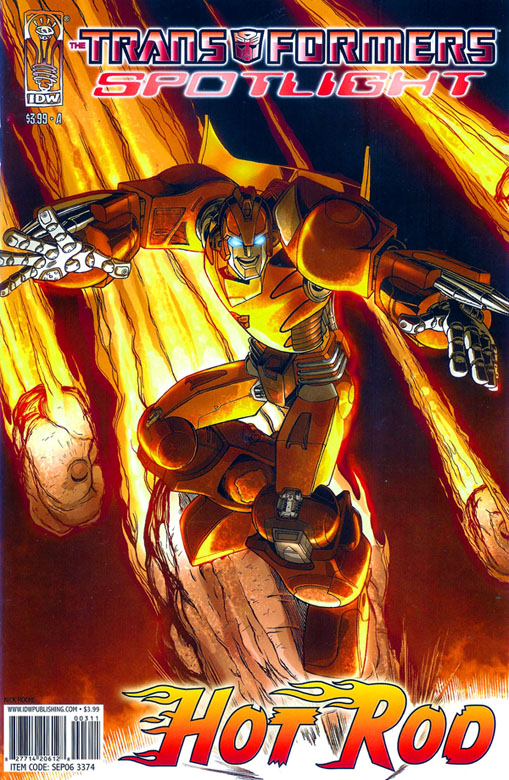 Cowabunga!
 -
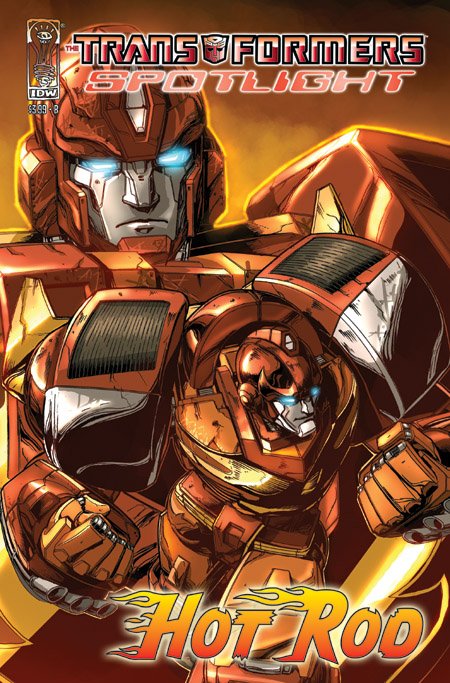 The only one better than me is... me!
 -
 Cover RI-A
 -
 Cover RI-B


Advertisements
[edit]- Optimus Prime Alternators toy
- Transformers: The Animated Movie #1
- G.I. Joe with Kung Fu Grip toy
- Escalation #1, including a 3-page preview
- IDW trade paperbacks (Infiltration, Stormbringer, The Gathering, Prime Directive, War and Peace, Generations)
- The Transformers: The Movie 20th Anniversary DVD
- Transformers posters
- Spotlight — first 5 issues (back cover)
Reprints
[edit]- 2007 — The Transformers: Spotlight Volume 1 (May 30, 2007) ISBN 1600100686 / ISBN 978-1600100680
- 2007 — The Transformers: The Premiere Collection Volume 1 (December 5, 2007) ISBN 1600101186 / ISBN 978-1600101182
- 2010 — The Transformers: The IDW Collection Volume One (May 26, 2010) ISBN 1600106676 / ISBN 978-1600106675
- 2015 — The Transformers: Spotlight Omnibus Volume 1 (April 15, 2015) ISBN 1631402463 / ISBN 978-1631402463
- 2016 — The Transformers: The IDW Collection Compendium, Vol. 1 (July 6, 2016) ISBN 163140637X / ISBN 978-1631406379
- 2017 — Transformers: The Definitive G1 Collection: Volume 36: Stormbringer (January 11, 2017)
-
 Spotlight Volume 1 – cover art by Nick Roche & Rob Ruffolo
 -
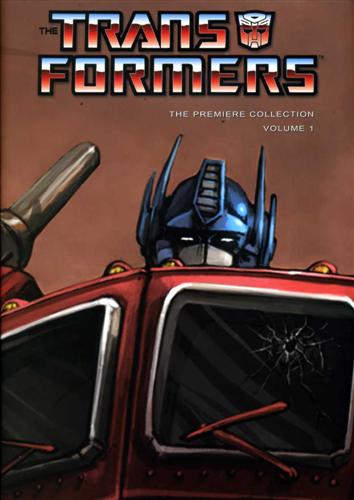 The Premiere Collection Volume 1 – cover art by Klaus Scherwinski
 -
 The IDW Collection Volume One – cover art by E. J. Su
 -
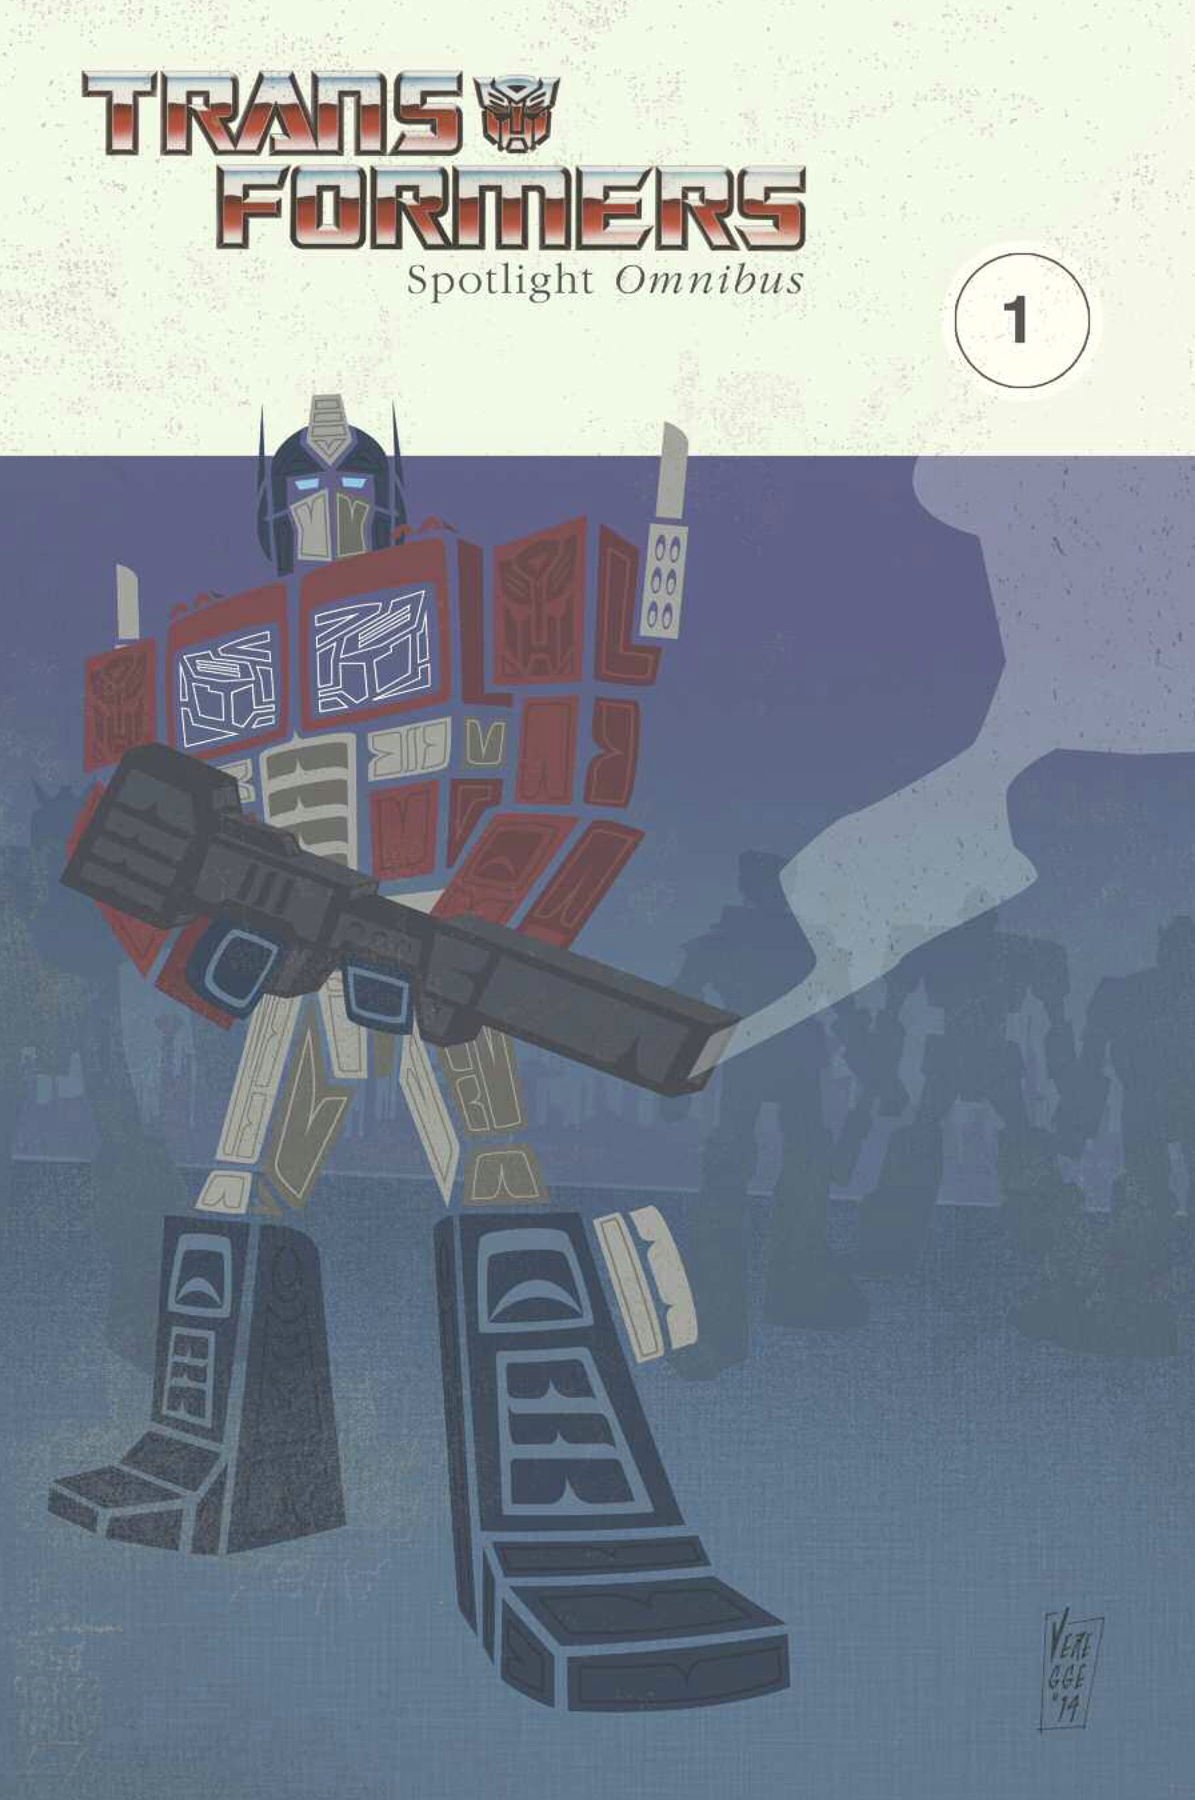 Spotlight Omnibus Volume 1 – cover art by Jeffrey Veregge
 -
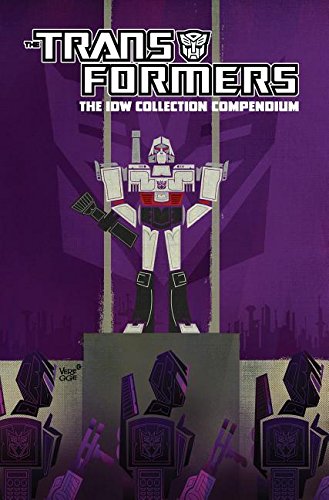 The IDW Collection Compendium, Vol. 1 – cover art by Jeffrey Veregge
 -
 The Definitive G1 Collection: Volume 36: Stormbringer – cover art by Guido Guidi


-
 Best of Hot Rod – cover art by James Biggie


