Infiltration issue 2: Difference between revisions
→Covers (12): removed collection covers per standard |
|||
| Line 70: | Line 70: | ||
*The "Decepticomments" section featured mail answered by Chris Ryall and short ads for next month's issues: [[Infiltration issue 3|''Infiltration'' #3]], [[The Gathering issue 2|''The Gathering'' #2]], [[The Transformers: Generations|''Generations'' #1]], and the ''[[War and Peace]]'' reprint. | *The "Decepticomments" section featured mail answered by Chris Ryall and short ads for next month's issues: [[Infiltration issue 3|''Infiltration'' #3]], [[The Gathering issue 2|''The Gathering'' #2]], [[The Transformers: Generations|''Generations'' #1]], and the ''[[War and Peace]]'' reprint. | ||
===Covers ( | ===Covers (7)=== | ||
<gallery> | <gallery> | ||
File:Infiltration 2a.jpg|'''''Infiltration'' #2 cover A''' - Everyone do "The Jerk"! | File:Infiltration 2a.jpg|'''''Infiltration'' #2 cover A''' - Everyone do "The Jerk"! | ||
| Line 85: | Line 85: | ||
File:Infiltration 2rib.jpg|'''''Infiltration'' #2 cover RI-B''' - Do "The Jerk" and kill the doc! | File:Infiltration 2rib.jpg|'''''Infiltration'' #2 cover RI-B''' - Do "The Jerk" and kill the doc! | ||
File:Infiltration 2ric.jpg|'''''Infiltration'' #2 cover RI-C''' - If the G1 toy merged with the [[character model]]. | File:Infiltration 2ric.jpg|'''''Infiltration'' #2 cover RI-C''' - If the G1 toy merged with the [[character model]]. | ||
</gallery> | </gallery> | ||
*'''''Infiltration'' #2 cover RI-A:''' Starscream, by Guido Guidi. | *'''''Infiltration'' #2 cover RI-A:''' Starscream, by Guido Guidi. | ||
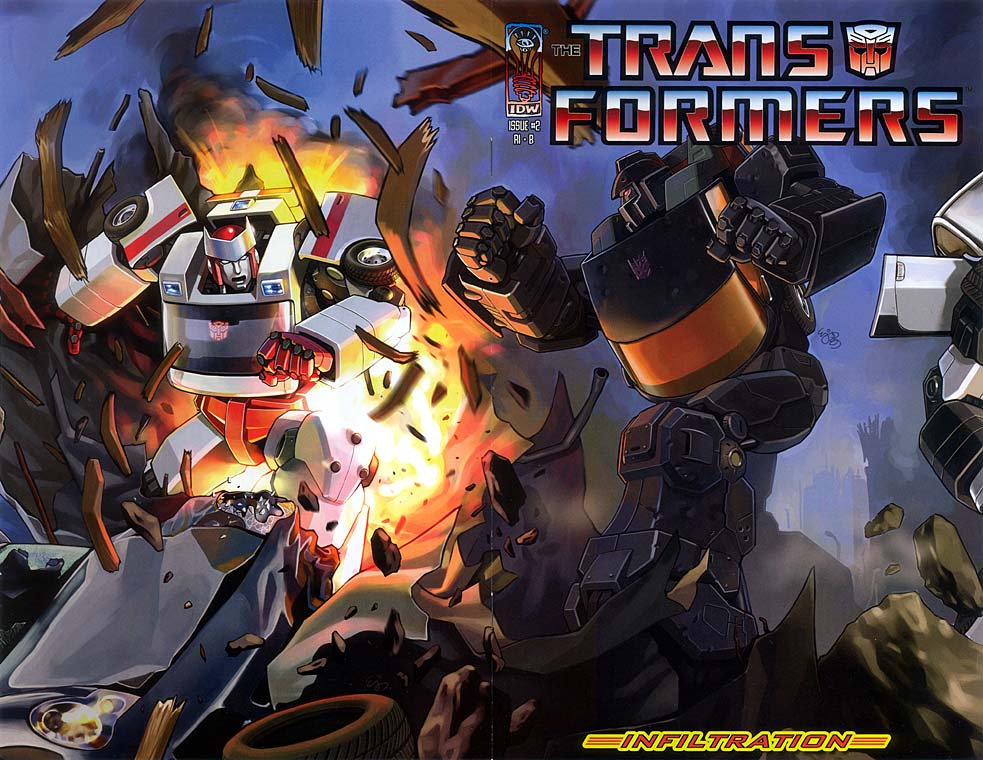
*'''''Infiltration'' #2 cover RI-B:''' Battle wraparound cover, by E. J. Su. First part of a continuous image. | *'''''Infiltration'' #2 cover RI-B:''' Battle wraparound cover, by E. J. Su. First part of a continuous image. | ||
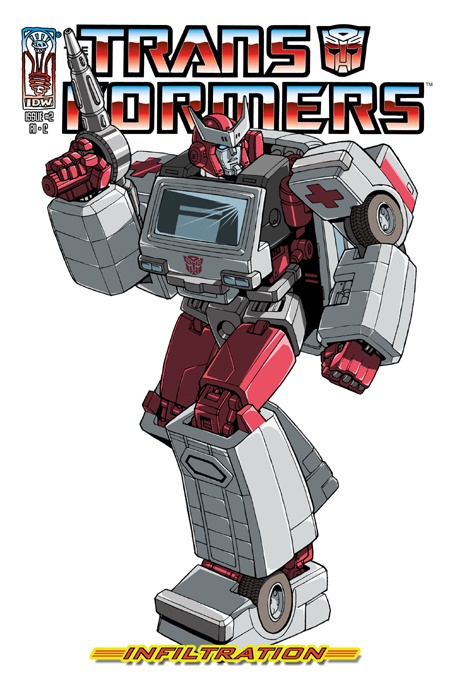
*'''''Infiltration'' #2 cover RI-C:''' Ratchet, by Guido Guidi (includes 4 mini-prints). | *'''''Infiltration'' #2 cover RI-C:''' Ratchet, by Guido Guidi (includes 4 mini-prints). | ||
===Advertisements=== | ===Advertisements=== | ||
Revision as of 03:05, 19 December 2017
| |||||||||||||
 Don't look up! | |||||||||||||
| Publisher | IDW Publishing | ||||||||||||
| First published | February 8, 2006 | ||||||||||||
| Cover date | February 2006 | ||||||||||||
| Written by | Simon Furman | ||||||||||||
| Art by | E. J. Su | ||||||||||||
| Colors by | John Rauch | ||||||||||||
| Letters by | Tom B. Long | ||||||||||||
| Edits by | Chris Ryall & Dan Taylor | ||||||||||||
| Continuity | IDW continuity | ||||||||||||
| Chronology | Infiltration | ||||||||||||
Ratchet reaches safety with the Autobots, or does he?
Synopsis

Confronted by two menacing robots, the stunned Verity Carlo, Hunter O'Nion, and Jimmy Pink can only stand and gawk as the ambulance driver disappears in a blaze of electricity. That blaze stuns one of the robots, sending it into the garage wall and scattering concrete everywhere. The ambulance itself transforms into a third giant robot, who shields the three humans from the rubble. As the white robot draws a weapon, the third robot deploys an ink spray, blinding his attacker, then transforms back into an ambulance once again and orders the three humans inside. As the ambulance peels out, Jimmy laments the destruction of his garage.
Back in the wilds of Arizona, a police detachment finds the dead body of the mustached businessman. He has no I.D., but one of the officers recognizes him and makes a phone call to a group of people in a boardroom to report the death. Behind them, the wall is adorned with a massive "M".
Traveling on a crowded freeway, the ambulance is once again picked up by the blue jet fighter and narrowly avoids a pile-up caused by the jet's sonic boom. This allows the two sports cars—who identify themselves as Runamuck and Runabout—to catch up, partially transforming to deploy weapons. According to the ambulance, this is a very disturbing sign, as Decepticons never break cover, let alone in such a brazen fashion.
In Oregon, Starscream and Blitzwing marvel at the ore that they have discovered. They anticipate refining more, and getting some kind of unfriendly response for breaking protocol.
Some more fancy driving allows the ambulance to shake Runamuck and Runabout. Verity, who on top of fleeing for her life has had reality turned upside down on her, screams for them to stop and jumps out.
While Jimmy goes to calm her down, Hunter tries to pry more detail out of the ambulance—starting with its name, Ratchet—but before he can get far, the jet re-acquires them. With everyone back inside, Ratchet pours on a burst of speed. In the middle of the desert, three more cars with weapons that spring from hidden compartments appear in their path and shoot the plane down. These cars then transform, draw weapons, and the leader informs Ratchet of the statutes of the Autobot Code of Interplanetary Conflict that he has violated. In his defense, Ratchet offers only two words: Siege Mode...
Featured characters
(Numbers indicate order of appearance.)
| Autobots | Decepticons | Humans |
|---|---|---|
|
|
|
Notes
Continuity notes
- As with last issue, we see that all Transformers feature heavy (retractable) armament in vehicle mode. Runabout, Runamuck, and Sunstreaker have missiles, Ironhide has a roof mounted cannon, and Prowl has machine-guns behind his headlamps. Also, in addition to the weapons shown last issue, Ratchet has a turbo-booster. They are all hardcore.
- First appearances: a shadowed-out Blitzwing; Ironhide and Sunstreaker; the unnamed goons of the Machination.
Transformers references
- On page 12, Ratchet gets himself between two oncoming semi trucks -- a black one with a gray trailer, and a red one pulling a gray tanker trailer. It's not too much of a stretch to think someone was recalling Motormaster vs. Optimus Prime.
Real-life references
- Settings include Riverside, California, and an interlude in Arizona.
Errors
- Ratchet's windshield remains intact throughout this issue, yet when he activates his rockets, his passengers appear to experience severe air rush in addition to the acceleration (as evidenced by blowing hair, squinted eyes, and Hunter and Jimmy's mouths).
Other trivia
- The "Decepticomments" section featured mail answered by Chris Ryall and short ads for next month's issues: Infiltration #3, The Gathering #2, Generations #1, and the War and Peace reprint.
Covers (7)
-
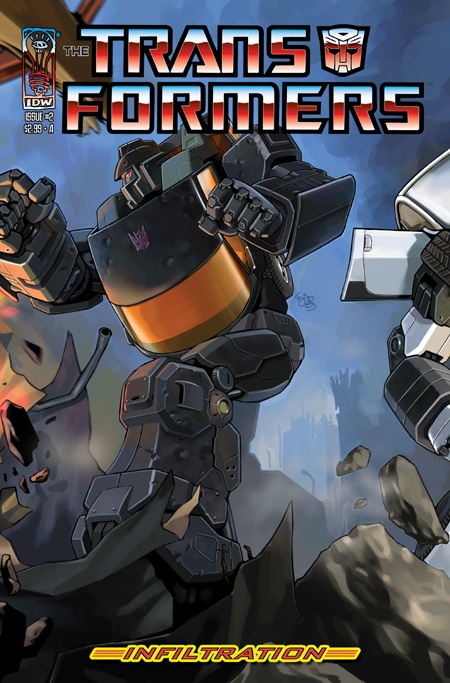 Infiltration #2 cover A - Everyone do "The Jerk"!
 -
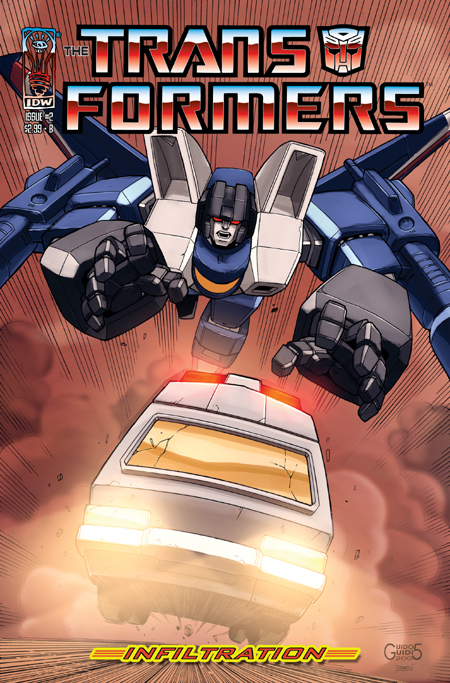 Infiltration #2 cover B - Can I have a ride?
 -
 Infiltration #2 cover C - Prowl, being his usual self.
 -
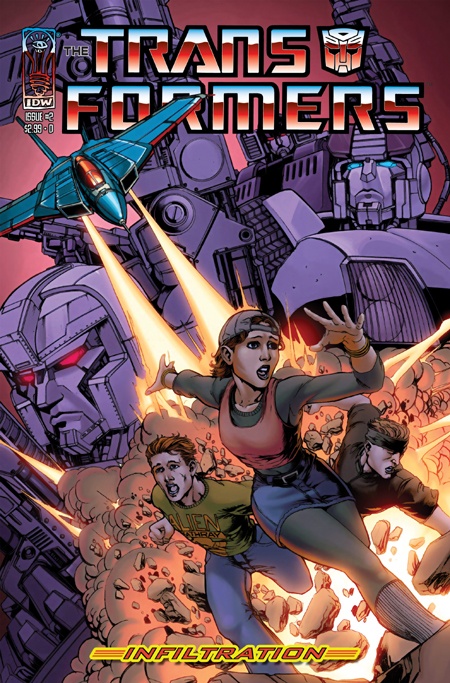 Infiltration #2 cover D - This will teach those meddling kids!


- Infiltration #2 cover A: the Battlechargers, by E. J. Su. Half of the RI-B cover.
- Infiltration #2 cover B: Thundercracker attacks Ratchet, by Guido Guidi.
- Infiltration #2 cover C: Prowl threatens Ratchet, by Andrew Wildman.
- Infiltration #2 cover D: Thundercracker attacks humans, by James Raiz.
-
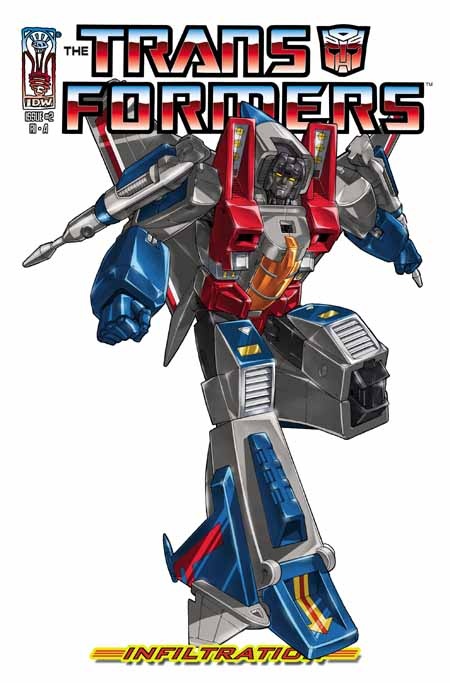 Infiltration #2 cover RI-A - Half a conehead.
 -
 Infiltration #2 cover RI-B - Do "The Jerk" and kill the doc!
 -
 Infiltration #2 cover RI-C - If the G1 toy merged with the character model.


- Infiltration #2 cover RI-A: Starscream, by Guido Guidi.
- Infiltration #2 cover RI-B: Battle wraparound cover, by E. J. Su. First part of a continuous image.
- Infiltration #2 cover RI-C: Ratchet, by Guido Guidi (includes 4 mini-prints).
Advertisements
- 10th Anniversary Beast Wars toys
- Infiltration #3, including a 2-page B&W sketch preview
- 3-page preview of The Gathering
- Angel: "City Of" scriptbook
- The Gathering (back cover)
Reprints
- The Transformers: Infiltration TPB (September 13, 2006) ISBN 1600100104 / ISBN 978-1600100109
- The Transformers: Infiltration Manga TPB (November 29, 2006) ISBN 1600100198 / ISBN 978-1600100192
- The Transformers: The Premiere Collection Volume 1 HC (December 5, 2007) ISBN 1600101186 / ISBN 978-1600101182
- The Transformers: The IDW Collection Volume One HC (May 26, 2010) ISBN 1600106676 / ISBN 978-1600106675
- The Transformers: Phase One Omnibus TPB (September 10, 2014) ISBN 1631401130 / ISBN 978-1631401138


