Our Steps Will Always Rhyme
| |||||||||||||
 Looks like Ratchet has been collecting Cyberverse. | |||||||||||||
| Chief Medical Officer Ratchet in: "Our Steps Will Always Rhyme" | |||||||||||||
| Publisher | IDW Publishing | ||||||||||||
| First published | April 29, 2015 | ||||||||||||
| Cover date | April 2015 | ||||||||||||
| Written by | James Roberts | ||||||||||||
| Art by | Brendan Cahill | ||||||||||||
| Colors by | Joana Lafuente | ||||||||||||
| Letters by | Tom B. Long | ||||||||||||
| Editor | John Barber | ||||||||||||
| Continuity | 2005 IDW continuity | ||||||||||||
| Chronology | Current era (2015) | ||||||||||||
A hearing is convened to decide Brainstorm's punishment, which inspires Ratchet to venture off on a mission of his own—but not before he says his farewells properly.
Synopsis
[edit]
Ratchet has never been very good at saying goodbye, whether to Roller, to Pharma, or even to Hunter O'Nion. Such thoughts are on his mind today, as he enjoys a drink in the deserted Swerve's, while the bartender himself and Ten pass the time arranging a huge pyramid of glasses. The pyramid is lucky to be spared what happens next; Ratchet is not so fortunate, and is knocked head over heels as Tailgate comes careening into the bar on a new hoverboard that he has purchased in Fortuna, capital city of the planet Scarvix, where the Lost Light is currently berthed while its quantum generators recharge. Tailgate apologizes, but notes how empty the bar is, which Swerve whines is the result of Mirage opening a competing establishment, "Visages" (quotation marks included!), after the recent poisoning incident at Swerve's. While Swerve laments, Tailgate tells Ratchet he's going fishing for Legislator body-parts in the oil reservoir with Getaway; this turns the subject of conversation towards the put-upon Ten, who Ultra Magnus has been trying to convince Swerve to treat better. Realising he is running late, Ratchet departs...
...in order to attend the first meeting of the Lost Light Internal Legal Affairs Committee, headed by Ultra Magnus, Rodimus, Xaaron, and an absent Megatron, who are holding a hearing to decide what Brainstorm's punishment will be following his recent deceptions. Brainstorm queries why Rewind is not on trial, having been the 'bot who actually fired the fatal shot on their time travel adventure, but Chromedome has already pleaded Rewind's case in private. When confronted with the Decepticon symbol within his faceplate, Brainstorm does not deny the implication; Nautica storms out as Brainstorm details how he chose to become an undercover agent in order to obtain from the Decepticons the resources necessary to build his time machine, but notes that he never provided his handlers with any information that would harm the Autobots. When the subject of the alternate Lost Light and the act of treachery by its Brainstorm that resulted in the death of the entire crew is raised, Brainstorm takes a stand, refusing to be held accountable for actions that were not his own—a stand that earns him a solo round of applause from Perceptor. The Committee begrudgingly admits that this is true, but conclude he must still be punished for his attempts to alter history; his time machine is to be destroyed, and his access to his lab is to be strictly regulated, but much to Brainstorm's surprise—and Ratchet's silent but visible dissatisfaction—he is not going to be kicked off the ship.

Following the hearing, Magnus checks in on the melancholy Megatron, to see if he has taken a missing datapad belonging to Magnus. Megatron denies any involvement, but cryptically claims to be "working". Ratchet, meanwhile, heads to "Visages" to borrow Tailgate's hoverboard; the little 'bot is in the bar with Getaway, and grows confused and upset as the escapologist continues to ply him with drink and 'negative compliments', and claims that Cyclonus has been talking about Tailgate behind his back.
Under the patently phoney ruse that Tailgate's board is infected with teleporting "super-scraplets", Ratchet has First Aid round up a select few of the crew for "examination". He uses the short, one-on-one sessions to talk candidly with each of them: he scolds Rodimus for the inconsistent treatment Brainstorm has received in comparison with exiled Drift; he gives Hoist's number to Rung in order to get him counselling; he asks Skids to be a friend to Rung outside of office hours; he helps Nautica understand that Brainstorm's actions were truly selfless, as he was an M.T.O. and would have been erased from history had his mission succeeded; he suggests that Swerve try getting Megatron to perform some of his poetry to reinvigorate his bar; and he tries to console Ultra Magnus, who has come to believe that the rest of the crew does not respect him after finding a tiny figurine of his innermost form, Minimus Ambus, outside his hab-suite door.

Once the examinations are done (and First Aid has made it clear he knows Ratchet was making up the "super-scraplets"), Ratchet is once again clobbered by Tailgate on his new hoverboard, which Tailgate explains was built by Ten. His curiosity piqued by the similarity in artistic style of the drawing of Tailgate on the hoverboard and the Minimus Ambus figurine, Ratchet visits Ten's makeshift "quarters", where he discovers that the soul of an artist glows within the vocally-impaired robot: Ten has drawn a beautiful mural of the ship's crew on his wall, and built a wide range of miniatures of the same with to-scale dioramas. Noticing that there's a display dedicated to Ultra Magnus, Ratchet realizes that Magnus is Ten's "favorite", and that Ten, wanting something of his, secretly took the missing datapad in exchange for the Minimus figure. Examining the pad, Ratchet discovers why Magnus was so eager to get it back: it contains a poem he is trying to write! Ratchet encourages Ten to return the pad, and types a message for Magnus into it to explain the situation.
A little later, with his new friend Ten at his side, Minimus Ambus enters Swerve's, which is now the popular spot once again after Swerve had Megatron perform... at "Visages"! While Minimus talks about the strange message Ratchet left him, brief moments play out across the ship: Brainstorm and Nautica reconcile; Getaway and Tailgate fish; Cyclonus broods; Rodimus and Perceptor burn Brainstorm's briefcases... save one, which is secretly recovered for Megatron by Ravage; and First Aid finds Ratchet's quarters deserted, with a communicator and a note at long last appointing First Aid the ship's chief medical officer. As the Lost Light departs Scarvix, Ratchet watches it go from a small shuttle of his own, before he too takes off... in search of Drift.
Featured characters
[edit](Characters in italic text appear only in flashbacks.)
(Numbers indicate order of appearance.)
| Autobots | Decepticons | Humans | Others | |||
|---|---|---|---|---|---|---|
|
|
|
Quotes
[edit]"I hate it. I (muffled) everything about it. It sounds (muffled) awful."
- —Swerve, on "Visages"
Brainstorm: "Everyone who's ever built a fully functioning time machine, stand up."
(Riptide stands up.)
(beat)
Riptide: "Oh, a time machine...! Sorry."
(Riptide sits down.)
"The Decepticons have had their suspicions about me for ages. I'm the worst double agent ever. Worse than Rung."
(beat)
"Joke. Not funny."
- —Brainstorm
"If I had sarcasm-powered legs, I'd do a happy dance...!"
- —Nautica takes the news of a potential scraplet infection poorly
"How do I feel. How do I 'feel'."
"It's not meant to be a trick question."
- —Ultra Magnus and Ratchet
"Are these your favorites?"
"Ten."
"Yeah. Mine too. You're missing someone, though. Not your fault: you joined after he left. After we sent him away. You'd have liked him. I did—probably a lot more than either of us realized."
- —Ratchet and Ten talk about Drift
"I don't trust poetry. What's the point? All these people trying to say something by hiding it behind something else."
"Someone once said that poetry is a hazardous attempt at self-understanding. It's certainly difficult..."
- —Swerve and Minimus Ambus
Brainstorm: "I added a new button:"
Nautica's wrench: "Brainstorm is an ass!"
Nautica: "It's my new favorite."
"This ship is a refuge for the emotionally inarticulate. Oh, people talk. People talk all the time. They just don't say very much. They're too worried about people knowing how they feel. Too worried about being found out. For better or worse, we're judged by what we do, and not what we say. And if it takes us a while to get around to doing something important, well... better late than never."
- —Ratchet's farewell message
Notes
[edit]Continuity notes
[edit]- Ratchet's first flashback shows his parting with Roller, which chronologically takes places between the scenes of the past shown in issue #11 and issue #36.
- His second flashback is set before his departure for Earth, prior to Infiltration #0, IDW's first Transformers issue. We also learn that Ratchet's departure was what convinced Pharma to transfer to Delphi, where we met him in issue #4. Pharma is depicted tinkering with a transformation cog, foreshadowing his eventual fall from grace.
- The third flashback shows Ratchet (in his "-ations"-era body, complete with holomatter avatar and even speech-bubble and font design from that time) returning Hunter O'Nion home following his separation from Sunstreaker, set in the missing year between Maximum Dinobots #5 and All Hail Megatron #1. Bombshell is shown watching Hunter, alluding to his eventual capture of the boy and the pillaging of his mind, revealed in All Hail Megatron #8.
- Hunter is noted to be going to his sister's house, a small allusion to the non-canonical strip "Hail and Farewell", in which Hunter's sister was noted to be his only remaining family.
- Tailgate's been inspired to get a hoverboard after watching Back to the Future Part II in issue #38.
- The oil reservoir is full of Legislator body parts after Skids tore an entire battalion of them apart down there back in issue #18.
- Someone has written "I failed the Ambus Test" on Ten's back; the test, an indicator of sentience, was previously mentioned in issue #24.
- Getaway's behaviour towards Tailgate has grown noticeably more creepy from when we first saw it in issue #30.
- Ratchet feels Hoist needs "someone to talk to"; that's likely because of his isolation issues, which we saw illustrated in Spotlight: Hoist, and which are no doubt flaring up after his roommate died in issue #34, only the week before the events of this issue.
- We've known that "Brainstorm" isn't Brainstorm's real name since Spotlight: Trailcutter; here, Nautica reveals that it is "Genitus of Operation: Solar Storm".
- Ratchet encourages Skids to get the "puncture wounds" on his neck fixed; those would be the mnemosurgery holes Chromedome left after issue #8.
- In keeping with her professed enthusiasm for engex in issue 28, Nautica nurses a giant-sized drinking glass at Swerve's.
- In the same panel, "Whirl Wuz Here" can be seen scrawled on a chair. Whirl's propensity for graffiti was previously brought up in the Annual, as well as earlier this very issue in relation to the writing on Ten's back. Further, the specific words call back to the desk graffiti on one of the (out-of-continuity) covers to issue 5: "Whirl Wuzent Here".
- Also in this same panel, Brainstorm's Autobot symbol is noticeably absent from his chest, presumably a consequence in some way or other of his revealed duplicity.
- Ratchet's departure leads into his role in the Drift - Empire of Stone mini-series, already published in full by the time of this issue's release.
- The long-range communicator Ratchet takes bears a noticeable resemblance to the "time phone" of the Elegant Chaos arc, which makes sense seeing as how the latter certainly didn't seem constrained by distance in its depiction.
- First Aid's tenure as Chief Medical Officer will be brief, as he and several others will be leaving the ship shortly in order to be part of the "Combiner Wars" storyline. In fact, the comic showing his departure, "The Possible Light", had been published two weeks prior.
Transformers references
[edit]- The planet Scarvix appeared in issue #133 of the Marvel UK Generation 1 comic.
- The 'bots who Tailgate nearly knocks down while on his board are Siren, Nightbeat, and Hosehead, the full roster of 1988 Autobot Headmasters. As a cute reference, Hosehead claims Tailgate "nearly took [his] head off".
- As Swerve directs Ten around, he says: "A little to the left... a little bit more", a verbatim quote from Kup in The Transformers: The Movie as he arranges the positioning of a roadblock, right before Hot Rod comes crashing through.
- The rise and fall of Mirage's bar was first mentioned in The Transformers #40, just a few weeks before this issue was published.
- When Ratchet describes the "super-scraplets", he uses the onomatopoeia "Vop!" to illustrate their teleportation abilities. That's the sound effect IDW uses for Skywarp's teleports.
Real-life references
[edit]- This issue's title is a lyric from the Leonard Cohen song, "Hey, That's No Way to Say Goodbye", a pretty self-explanatory reference.
- Siren's exclamation of "I'm walkin' here!" is an oft-quoted line of Dustin Hoffman's from the 1969 film Midnight Cowboy.
- When Ratchet leaves Hunter home, the human notes he is going to catch up on a lot of television, listing off the hot-name shows that were airing at the time the scene is set, in the late 2000s: the reimagined Battlestar Galactica, Doctor Who, and Heroes.
- After Tailgate smacks into Ratchet for the second time, Ratchet returns his hoverboard and says "Hey, kid, thanks", paraphrasing similar lines from Back to the Future and its sequel when Marty McFly returns borrowed boards to their owners.
- The individual mentioned in Minimus's remark on the nature of poetry, quoted above, was Robert Penn Warren, who wrote: "For what is a poem but a hazardous attempt at self-understanding: it is the deepest part of autobiography."
Errors
[edit]- Brainstorm's first speech bubble in this issue is mistakenly channeled from Chromedome.
- Ratchet's interaction with Rodimus is pretty off-base. The medic's ire is focused on the "disproportionate punishment" he believes Drift received, but completely ignores the fact that Rodimus was the one who was responsible for bringing Overlord on board the ship (which we know from issue #26 that Rodimus admitted to the whole crew) and that Drift had actively volunteered to take the blame for the fiasco and allowed himself to be exiled—there was no "punishment" involved for Ratchet to be angry about. The No-Prize-y explanation would be that Rodimus didn't tell the crew that Drift chose to be exiled, which would kinda-sorta fit with Empire of Stone #1, in which Ratchet knows that Drift is not to blame for the Overlord situation, and claims he was "following orders". The trade paperback changes the wording of Ratchet's complaint to "inconsistent treatment", which papers over the problem by making it more about how the difference between the two Autobots' sentences appears to the rest of the crew, rather than about the punishments themselves.
Other trivia
[edit]- After running a month behind for the first quarter of 2015, More than Meets the Eye gets back on schedule with this issue, the second of two released in April.
- There are plenty of Lost Light regulars who aren't part of Ten's mural, but it's pretty telling that Ten has left Swerve himself out of the artwork.
- The shared faves of Ratchet and Ten are Chromedome, Nautica, Tailgate, Rung, Skids, Hoist, Getaway, and Rodimus (and Magnus).
- Also, Ten seems to depict himself with eyes in both his mural and his miniature, despite being a Legislator and having none.
- In accordance with Ratchet's suggestion, Skids can be seen socializing with Rung in the background, towards the end of the issue.
- Brainstorm mentions his 'handler' but doesn't tell us who that would be. Will we ever find out?
- Nautica has a pretty drastic reaction to Brainstorm's admission of being a double agent, considering how she was an outsider to the whole war - though perhaps it's more personal, in that she and Brainstorm have clearly become close friends in the six months since they met, but he never told her about his duplicity. Nautica will get over it though.
Soundtrack
[edit]- "Nobody's Empire" by Belle and Sebastian[1]
- "Love Expression" by It's Jo and Danny[2]
- "Hey, That's No Way to Say Goodbye" by Leonard Cohen[3]
Foreign Localization
[edit]- Swedish:
- Title: "Chefsläkare [sic] Ratchet i: "Våra fotsteg kommer alltid att rimma"" (Chief Medical Officer Ratchet in: "Our Footsteps Will Always Rhyme")
Covers (3)
[edit]- Regular cover: The Lost Light crew in Ratchet's tender hands, by Alex Milne and Josh Perez
- Subscription cover: Tailgate on his hoverboard as Getaway, Cyclonus, and Ultra Magnus look on, by Nick Roche and Josh Burcham
- Retailer incentive cover: Brainstorm in the spotlight, with Nautica, Ratchet, and Ultra Magnus silently judging, by Brendan Cahill and Joana Lafuente
-
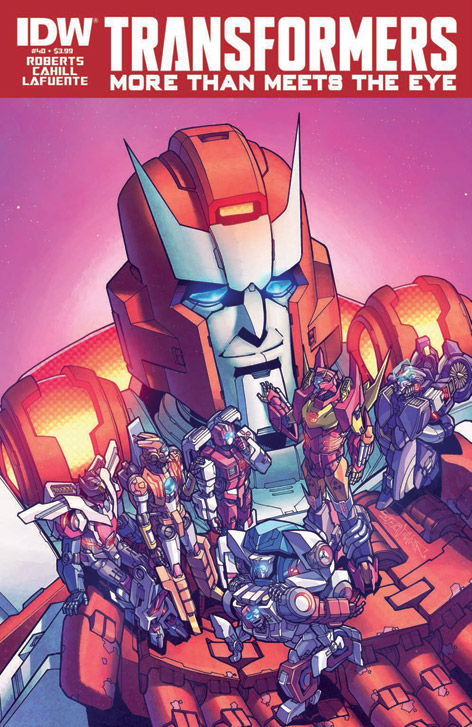 He's got the whole gang in his hands.
 -
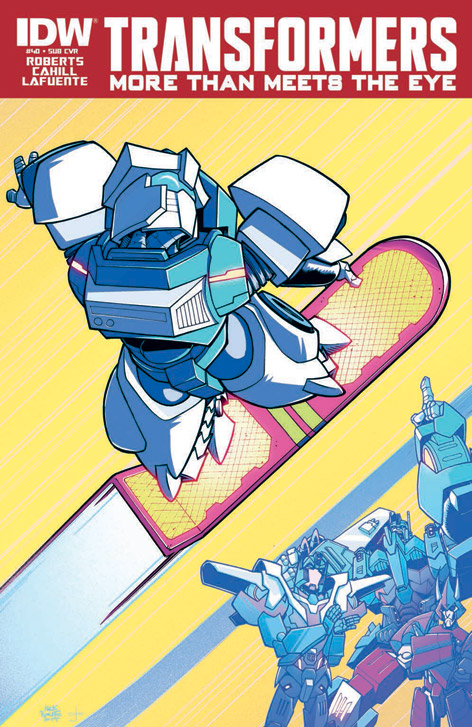 Well, it beats pod-racing.
 -
 CHUNG CHUNG


Advertisements
[edit]- More than Meets the Eye #41
- "Combiner Wars"
- Transformers vs. G.I. Joe #6
- Teenage Mutant Ninja Turtles/Ghostbusters trade paperback
- IDW Skylanders comic
- IDW Jem and the Holograms comic
- My Little Pony: FIENDship Is Magic comic book event
- Disney comics are back! (back cover)
Reprints
[edit]- The Transformers: More Than Meets the Eye Volume 8 (October 21, 2015) ISBN 1631404520 / ISBN 978-1631404528
- Collects More than Meets the Eye issues #39–44.
- Bonus material includes covers of each issue.
- Trade paperback format.
- The Transformers: The IDW Collection Phase Two: Volume 8 (December 5, 2018) ISBN 1684053722 / ISBN 978-1684053728
- Collects More than Meets the Eye issues #35–38 & #39–40, The Transformers (2012) issues #35–38, Punishment issues #1–5, and Drift - Empire of Stone issues #1–4.
- Hardcover format.
- Transformers: The Definitive G1 Collection: Volume 63: Elegant Chaos (June 12, 2019)
- Collects More than Meets the Eye issues #35–42.
- Bonus material includes a cover gallery and a forward by Simon Furman.
- Hardcover format.
- Transformers: Du sköna nya värld (November, 2022)
- Collects More than Meets the Eye issues #28–38 & #40.
- Swedish reprint. Hardcover format.
-
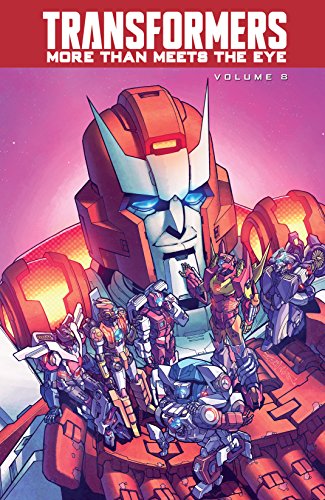 More Than Meets the Eye Volume 8 – cover art by Alex Milne and Josh Perez
 -
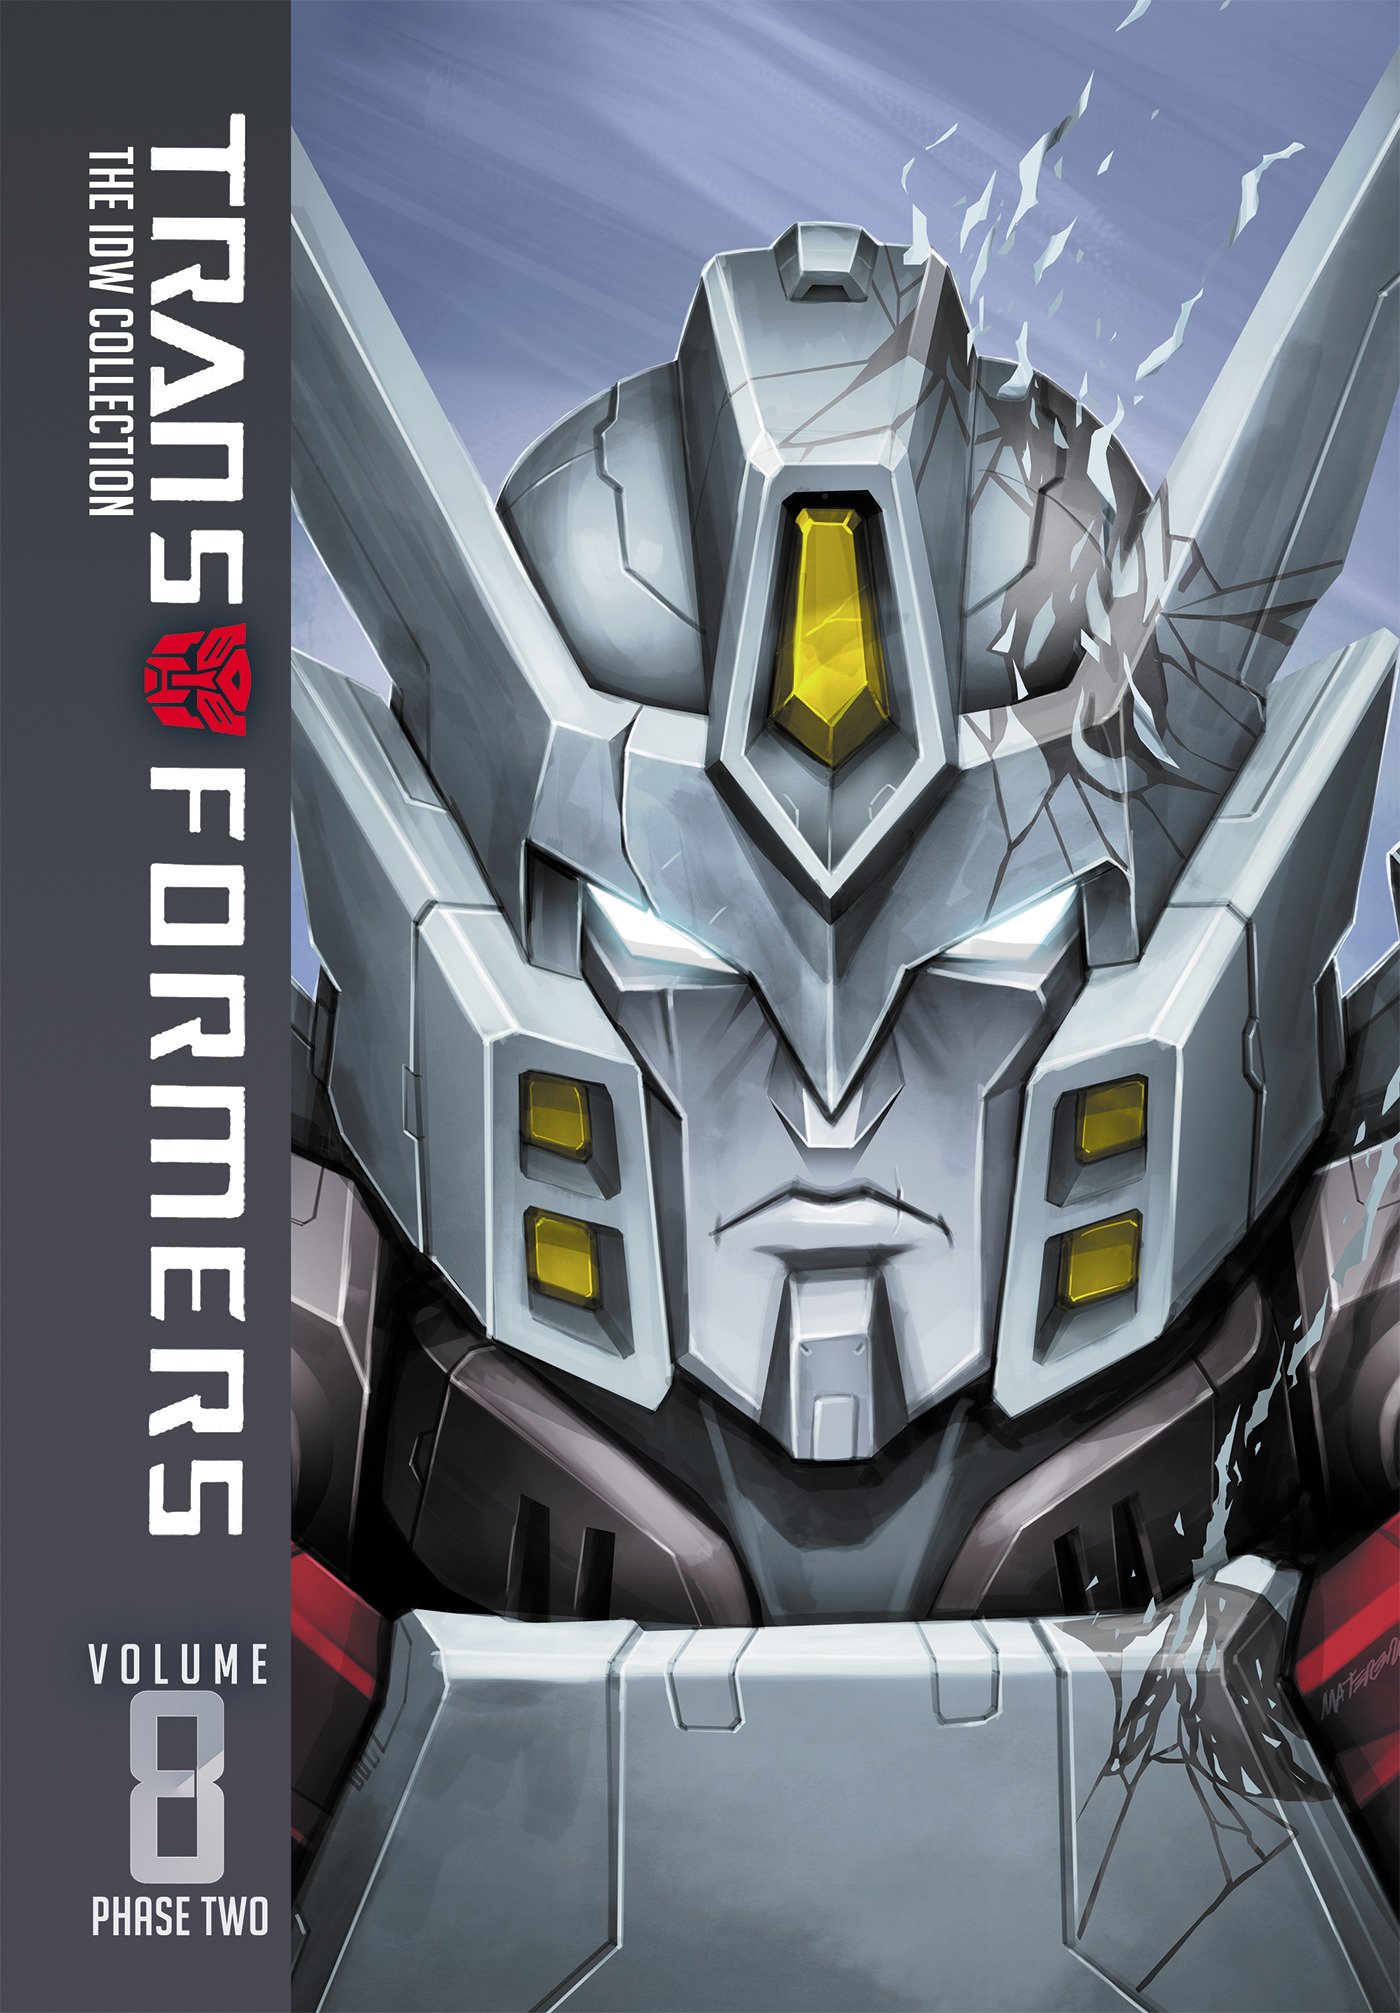 The IDW Collection Phase Two: Volume 8 – cover art by Marcelo Matere and Tom B. Long
 -
 The Definitive G1 Collection: Volume 63: Elegant Chaos – cover art by Don Figueroa (Trailbreaker) and Alex Milne (retro)
 -
 Du sköna nya värld – cover art by Casey Coller and Joana Lafuente


References
[edit]- ↑ "Song 1 is 'Nobody's Empire' by Belle & Sebastian, because (to me) it best expresses the mood of the issue: https://t.co/haWZ0VNnTL #MTMTE40"—James Roberts, Twitter, 2015/04/20
- ↑ "Second song from MTMTE #40 is 'Love Expression' by It's Jo And Danny: https://t.co/Dp6Ic64X5a"—James Roberts, Twitter, 2015/04/20
- ↑ "Post-release, it's safe to reveal the last song in MTMTE 40's soundtrack: the song which gives the story it's name: http://t.co/63bcxZFqoG"—James Roberts, Twitter, 2015/04/30


